How To Make Walnut Butter In A Blender: Quick & Creamy!
To make walnut butter in a blender, simply blend roasted walnuts until smooth, stopping to scrape down sides as needed. Begin by roasting raw walnuts to enhance their flavor and ensure they’re dry for optimal blending.
Crafting homemade walnut butter is a straightforward process that transforms raw walnuts into a creamy, nutrient-rich spread. This delectable alternative to traditional butters offers a powerhouse of omega-3 fatty acids, antioxidants, and protein, perfect for those seeking a health-conscious addition to their diet.
Your trusty blender works wonders in achieving the perfect consistency, from chunky to silky smooth, according to your preference. Perfect for spreading on toast, as a dip for fruits, or even as a base in savory sauces, homemade walnut butter is versatile and delicious. Ensure your walnuts are fresh and of high quality for the best taste and health benefits. With no added preservatives or artificial ingredients, your homemade walnut butter is a wholesome choice for any kitchen.
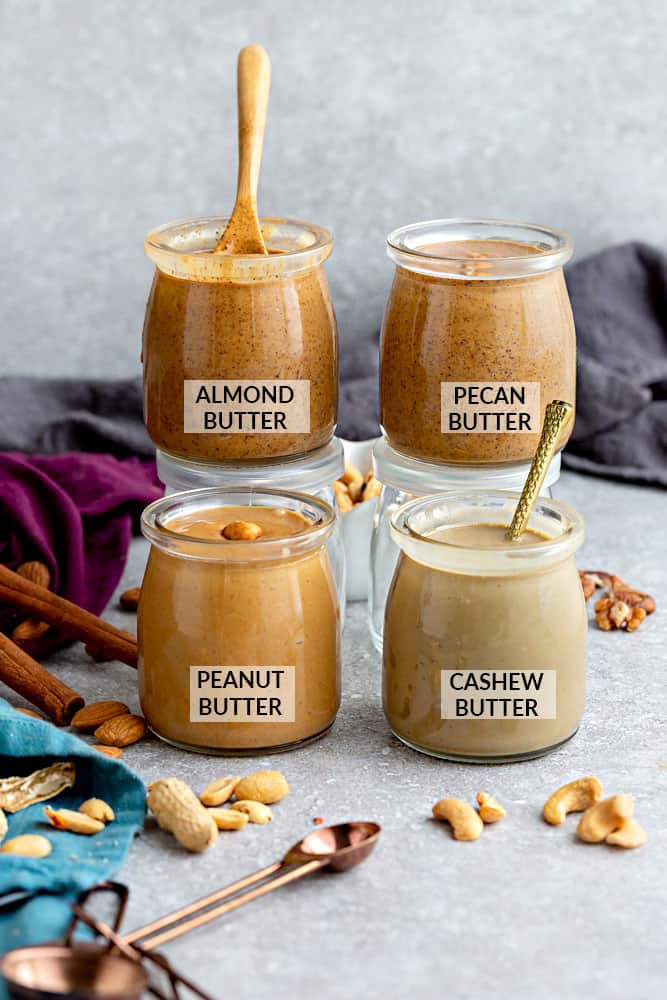
The Nutty Rise Of Nut Butters
Nut butters have taken the world by storm. High in nutrients and flavor, they are truly a delight for anyone seeking a healthy and tasty spread. From classic peanut to exotic macadamia, there’s a nut butter for every palate. Yet, among these, walnut butter is making waves for its rich taste and health benefits.
Market Boom For Healthy Spreads
The demand for healthier alternatives to traditional spreads is skyrocketing. Consumers are swapping out butter and margarine for options that pack in nutrition without compromising taste. This trend has sparked a consumer shift towards plant-based and nutrient-dense choices, leaving supermarket shelves teeming with a variety of nut butters.
- Surge in health consciousness
- Growth in global nut butter market
- Preference for clean label products
Walnut Butter On The Rise
Walnut butter stands out in the nut butter spread. With a subtle, earthy flavor, it pairs well with a range of foods, from bread to fruits. Rich in omega-3 fatty acids and antioxidants, walnut butter is not just a treat for your taste buds but also a boon for your health.
| Nut Butter | Key Nutrient |
|---|---|
| Walnut Butter | Omega-3 Fatty Acids |
| Almond Butter | Vitamin E |
| Peanut Butter | Protein |
Simple and quick to make at home, walnut butter requires only high-quality walnuts and a trusty blender. Once you’ve tasted the homemade version, store-bought spreads will never be the same. Dive into the delicious world of nut butters with your own batch of walnut butter.
Credit: pinchofyum.com
Selecting The Right Walnuts
Walnut butter can transform your toasts and smoothies with a rich, nutty flavor. But the secret to phenomenal walnut butter lies in the walnuts themselves. Picking the best guarantees a delicious and creamy spread. Let’s dive into how to select the finest nuts for your homemade butter.
Types Of Walnuts For Different Flavors
Walnuts come in varieties. Each affects your butter’s taste.
- English walnuts – Mild and slightly sweet.
- Black walnuts – Bold with earthy notes.
- White (butternut) walnuts – Buttery and rich.
Freshness Counts: Picking The Best Nuts
Fresh, top-quality walnuts make the smoothest spreads. Follow these steps to ensure you’re picking the best:
- Check for shells with no cracks or holes. Intact shells protect the nutmeat.
- Choose walnuts that feel heavy for their size. This suggests they are fresh and not dried out.
- Gently shake each walnut. Skip any that rattle; it means the nut is old or dried.
Store walnuts in a cool, dark place. They will stay fresh longer. Use them soon for peak flavor in your butter.
Prepping Your Walnuts
Get ready to transform walnuts into a creamy, nutritious spread that will delight your taste buds. Prepping your walnuts is a simple yet crucial step to ensure your homemade walnut butter is delicious and full of flavor. Let’s dive into the preparation process and start off with an essential flavor-boosting tip: toasting your walnuts!
Toasting For Enhanced Flavor
Toasting walnuts not only intensifies their rich, nutty essence but also adds a crunchy texture to your butter. Follow this easy guide to toast your walnuts:
- Preheat your oven to 350°F (175°C).
- Spread the walnuts in a single layer on a baking sheet.
- Bake for 5-10 minutes or until they are browned and fragrant.
- Keep a close watch to prevent burning.
Once toasted to perfection, it’s time for them to cool down.
The Importance Of Cooling Before Blending
Cooling is key! Do not skip this step. Here’s why cooling matters:
- Hot walnuts could damage your blender.
- They may release oils too quickly, creating an oily paste instead of butter.
- Cooled walnuts blend into a smooth, consistent texture.
Allow the walnuts to cool for about 10 minutes after toasting. When they’re no longer hot to the touch, they’re ready to be blended into creamy walnut butter!
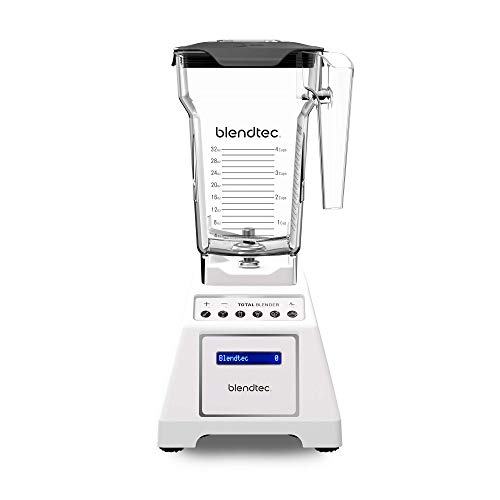
Blender Basics For Smooth Butters
Welcome to the creamy world of homemade nut butters! Today, let’s master the Blender Basics for Smooth Butters. Making walnut butter is simple, and using a blender is a game-changer. Say goodbye to store-bought versions and get ready to blend up a rich, satisfying spread right at home.
Choosing The Right Blender
The secret to impeccable walnut butter is a powerful blender. Selecting one with the right features is crucial:
- Motor Power: Opt for blenders with at least 600 watts for seamless blending.
- Blade Quality: Stainless steel blades ensure durability and finer grinding.
- Design: A tamper can help push ingredients towards the blades.
Optimizing Your Blender Settings
Even with the right blender, the settings make a real difference:
- Start on a low speed to chop the nuts.
- Gradually increase the speed for a smooth blend.
- Pulse if you encounter any chunks.
Remember to give your blender a break every minute to prevent overheating, ensuring your walnut butter is not only smooth but also retains all its natural goodness.
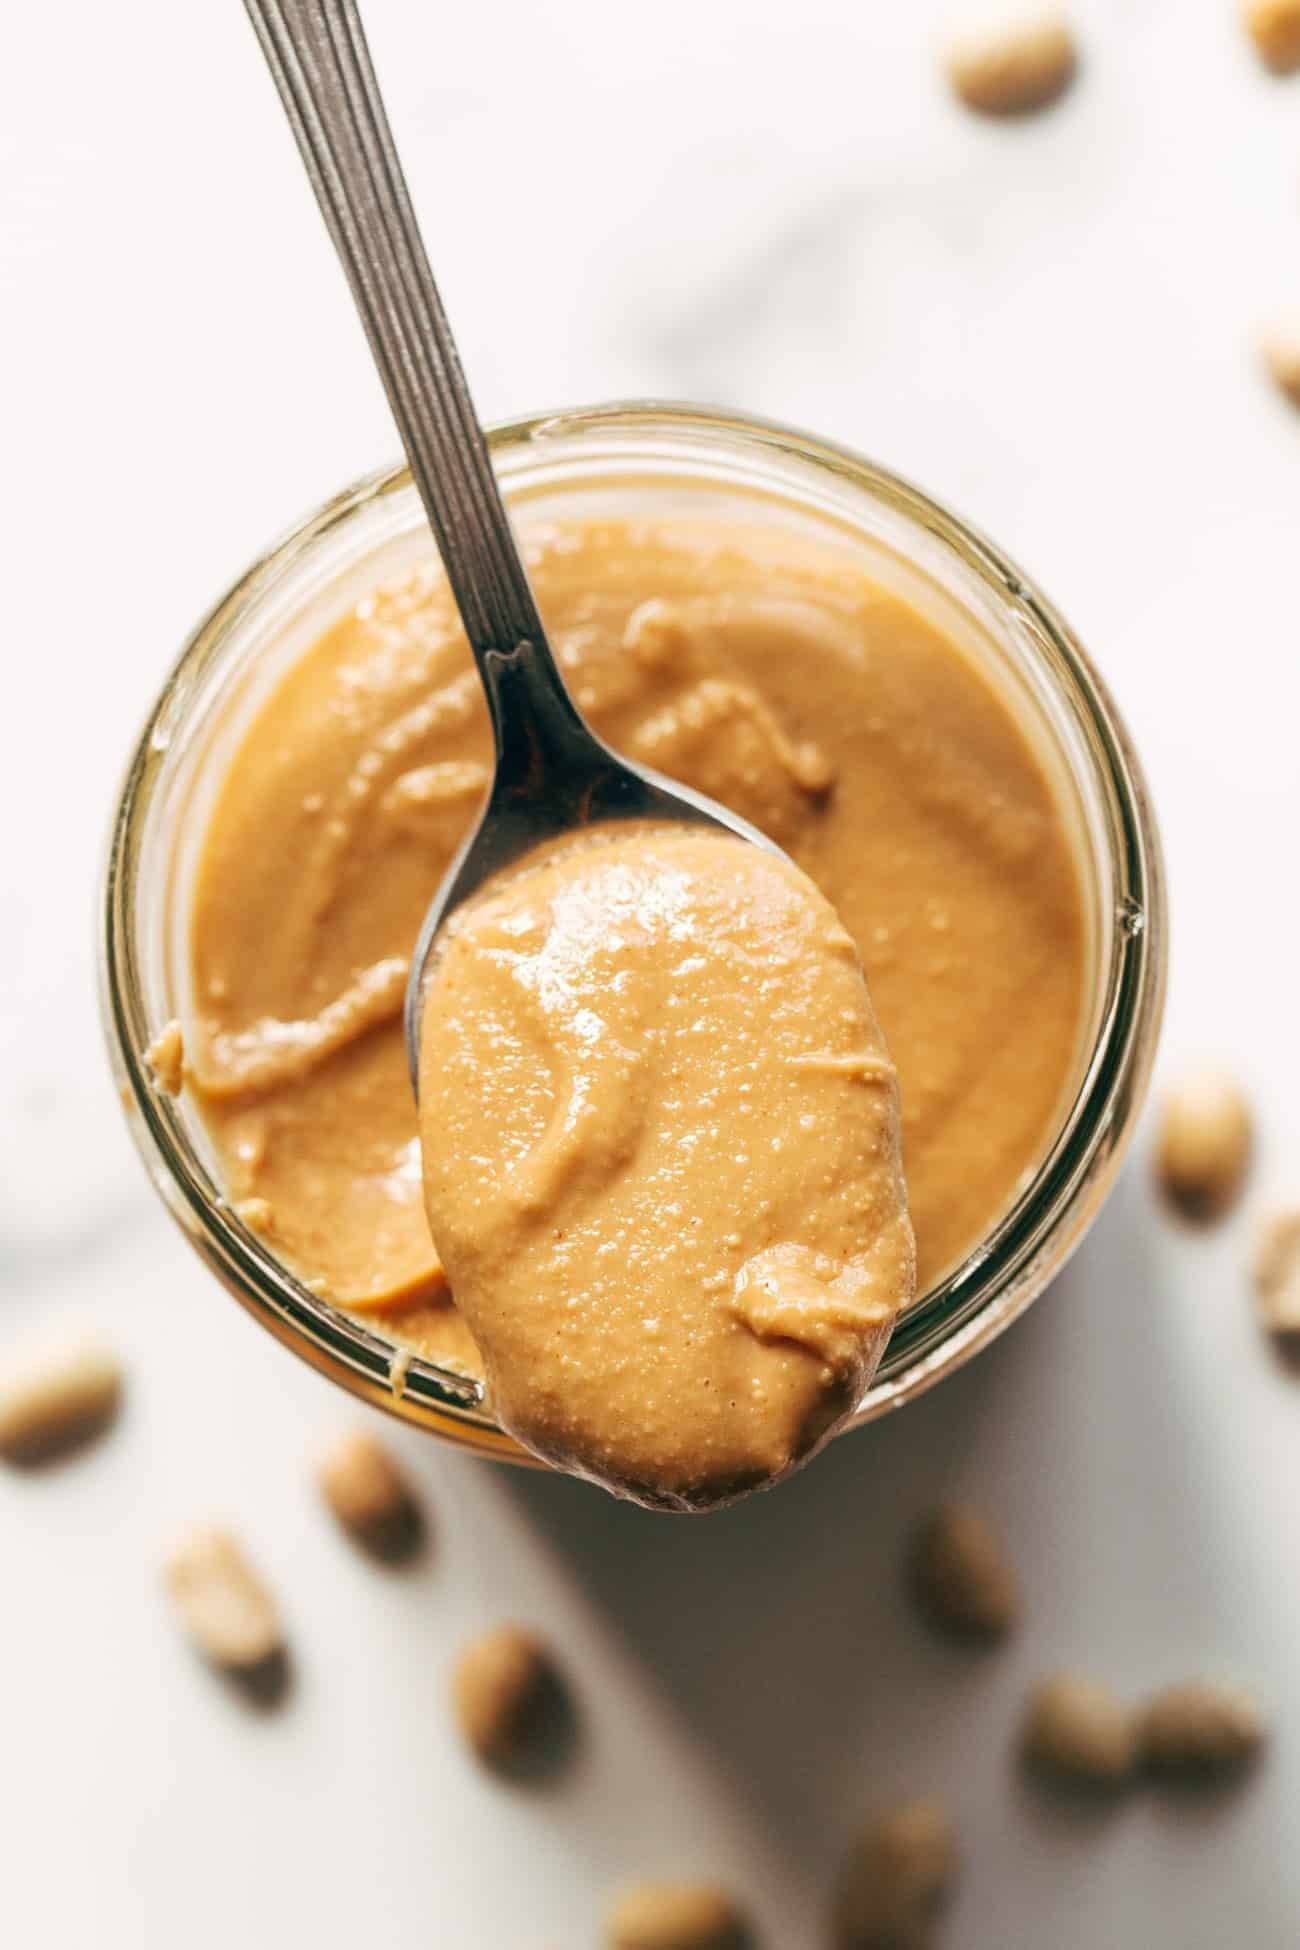
The Step-by-step Blending Process
Ready to transform walnuts into velvety walnut butter at home? The key to smooth, indulgent walnut butter is in the step-by-step blending process. Grab your blender and let’s get started, ensuring each pulsing and blending step brings you closer to a creamy, spreadable delight.
Starting With Pulses
Initiating the process, place 2 cups of high-quality, raw walnuts into your blender. It’s essential to begin with short, quick pulses. This rough chop is the foundation of smooth butter to come.
- Pulse walnuts 5-6 times for 1-second bursts.
- After each pulse, scrape down the sides to ensure even blending.
- Watch for a coarse, sand-like texture before proceeding.
From Chunky To Creamy: Blending Technique
Now it’s time to turn up the power. Blend on a medium setting to refine the texture. Stay patient—creamy walnut butter takes time.
- Start the blender on a low-to-medium speed.
- Continue for 2-3 minutes, watching the transformation.
- Increase to high speed as needed, until completely smooth.
If needed, add a tablespoon of neutral oil like avocado or walnut oil. This can enhance creaminess and help if the mixture is too thick.
| Time | Texture | Action |
|---|---|---|
| 1-2 Minutes | Coarse, Grainy | Scrape Sides, Continue Blending |
| 3-5 Minutes | Finer, Starting to Clump | Scrape Sides, Add Oil If Needed |
| 6-10 Minutes | Smooth, Creamy | Finish Blending, Transfer to Jar |
Credit: www.inspiredtaste.net
Flavor Infusions And Variations
Are you ready to take your homemade walnut butter to the next level? With a few simple twists, you can transform the classic spread into a unique taste experience. From sweet delights to savory treats and a kick of spice, explore how to infuse flavors and create the perfect texture, whether chunky or silky. Let’s dive into the delicious world of walnut butter variations!
Sweet Add-ins
Boldly sweeten your walnut butter with these irresistible add-ins:
- Honey for a natural touch of sweetness.
- Ripples of maple syrup for a cozy vibe.
- Chopped dates or figs for fruity softness.
- A dash of cinnamon for warming spice.
Savory Add-ins
Shift to savory with these sophisticated pairings:
- Blend in roasted garlic for depth.
- Stir in rosemary or thyme for herby freshness.
- Sun-dried tomatoes offer a Mediterranean twist.
- Grated parmesan invites a cheesy dimension.
Spicy Add-ins
Awaken your palate with spicy elements that tingle the senses:
- Spark heat with chili flakes or cayenne pepper.
- Swirl in hot sauce for a fiery twist.
- A pinch of smoked paprika deepens the flavor.
- Wasabi or ginger bring a zesty punch.
Texture Twists: Chunky Vs. Silky
Decide how you like your walnut butter:
| Chunky | Silky |
|---|---|
| Process briefly for a bite. | Blend longer for smoothness. |
| Add chopped nuts at the end. | Include a bit of nut oil for creaminess. |
Remember: The longer you blend, the smoother the butter. For a chunky texture, pulse briefly and leave some bits intact.
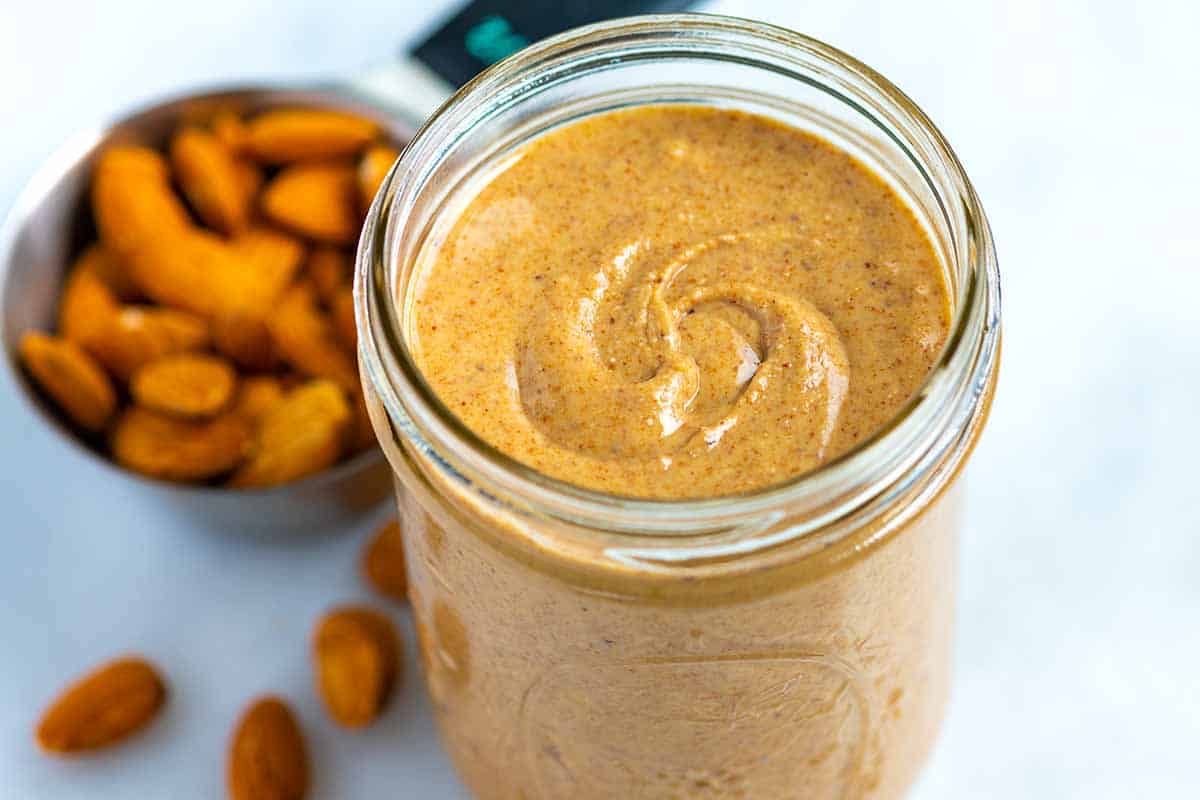
Storing Your Homemade Walnut Butter
Once you’ve blended your rich, creamy walnut butter, it’s time to think about storage. Proper storage is key to preserving the freshness and flavor of your homemade spread. Whether you’re a seasoned nut butter aficionado or a newbie, follow these tips to ensure your walnut butter stays as delicious as the day you made it.
Best Practices For Freshness
Paying attention to how you store your walnut butter can make all the difference. Always use an airtight container to ward off any moisture or contaminants. Glass jars work well and allow you to see when you’re running low. Keep your butter out of direct light and in a cool part of your pantry. Remember, every time you take your walnut butter out, use a clean spoon to avoid introducing any bacteria.
- Use an airtight container for storage.
- Opt for glass jars to easily monitor quantity.
- Avoid direct light and store in a cool place.
- Always use a clean spoon for scooping.
Shelf Life And Refrigeration Tips
Knowing how long your walnut butter will last helps to maintain its quality. In the pantry, it can stay fresh for up to a month. For longer storage, the refrigerator is your friend. Refrigeration can extend the life of your walnut butter to three months or longer. Make sure to label the jar with the date you made it, so you always know how long it’s been stored. Before each use, give it a good stir as natural oils may separate.
| Storage Location | Estimated Shelf Life |
|---|---|
| Pantry | Up to 1 Month |
| Refrigerator | 3 Months or Longer |
Label your jar with the creation date. Stir well before each use to mix any separated oils back in.
- Store in pantry for up to a month.
- Refrigerate to extend shelf life to three months.
- Always label with the date made.
- Stir before use to reintegrate oils.
Credit: lifemadesweeter.com
Creative Uses For Your Walnut Butter
Rich, creamy walnut butter is a sumptuous treat that goes beyond simple spreads. Discover innovative ways to enjoy this nutty delight. Its versatile nature opens up a treasure trove of culinary possibilities.
Spread, Drizzle, And Dollop: Serving Suggestions
Think of walnut butter as a multi-purpose condiment. Here’s how to elevate your dishes:
- Spread it on artisan bread for a gourmet breakfast.
- Drizzle it over oatmeal or yogurt for added richness.
- Dollop it on pancakes or waffles as a decadent topping.
Incorporating Walnut Butter In Recipes
Walnut butter isn’t just for topping. Use it as a staple ingredient in various dishes:
| Dish Type | Suggestion |
|---|---|
| Smoothies | Add a spoonful for nuttiness and protein. |
| Baked Goods | Mix into dough or batter for a rich flavor. |
| Sauces | Blend with herbs for a creamy dressing. |
Other ideas to try out:
- Stir it into hot pasta for an instant sauce.
- Enrich veggie dips with a spoonful.
- Combine with maple syrup for a sandwich spread.
Health Benefits Of Walnut Butter
Unveil the goodness packed in a jar of homemade walnut butter! This creamy delight is not just a spread but a treasure trove of health benefits.
The rich and nutty walnut butter is a powerhouse of nutrition. It supports heart health and brain function, thanks to its high content of omega-3 fatty acids. Loaded with antioxidants, it fights oxidative stress and inflammation. A spoonful of walnut butter adds not only flavor but also enhances your well-being.
Nutritional Breakdown
With every serving of walnut butter, your body gets a boost of essential nutrients. This includes proteins, healthy fats, and fibers. The following table outlines the impressive nutritional content found in a standard serving of walnut butter.
| Nutrient | Amount per Serving |
|---|---|
| Calories | 200 |
| Proteins | 5g |
| Fats | 20g |
| Fiber | 2g |
| Omega-3 | 2.5g |
The antioxidants and omega-3 fatty acids in walnut butter contribute to reduced risk of chronic diseases. The fiber content aids in digestive health. It also provides essential minerals like magnesium, which is vital for bone health.
Integrating Walnut Butter Into A Balanced Diet
Introduce walnut butter into your meals for a nutritious boost. Ideal for spreading on toast, stirring into oatmeal, or blending into smoothies. Here’s a list of ways to enjoy walnut butter:
- As a dip for fresh fruits and veggies
- Incorporated into salad dressings
- As a protein-packed addition to smoothie bowls
- Blended with dates for a natural sweet treat
- Stirred into whole-grain pasta for a creamy sauce
Incorporate walnut butter mindfully in moderation to maintain nutritional balance. Pair it with a variety of foods to enjoy its health benefits as part of a diverse diet.
Frequently Asked Questions For How To Make Walnut Butter In A Blender
What Is Walnut Butter?
Walnut butter is a smooth, spreadable paste made from ground walnuts. It’s a rich source of healthy fats, proteins, and nutrients. Homemade walnut butter can be easily made in a blender, offering a nutritious and delicious alternative to traditional nut butters.
Can You Make Nut Butter In A Blender?
Yes, you can make nut butter in a blender, including walnut butter. Use a high-powered blender for the best results. Blend roasted walnuts until they transform into a creamy paste. Patience and occasional scraping down the sides are necessary for a smooth texture.
How Long To Blend Walnuts For Butter?
Blending walnuts into butter typically takes about 5-10 minutes. Start by pulsing and then blend continuously, scraping down the sides regularly. Consistency is key for achieving the desired creamy texture. Allow your blender to rest if it starts to overheat.
Do You Need To Add Oil To Walnut Butter?
Adding oil to walnut butter is not mandatory, as walnuts release their natural oils during blending. However, for an even creamier texture, a small amount of neutral oil can be added. Be mindful of the oil’s flavor to ensure it complements the walnuts.
Conclusion
Creating your own walnut butter at home is a breeze with a trusty blender. This simple process not only saves you money but also lets you customize the flavor to your liking. So gather your ingredients, follow the steps above, and enjoy a healthier spread that’s as delicious as it is nutritious.
Happy blending!