How to Clean a Kitchenaid Blender: Expert Tips for Sparkling Results!
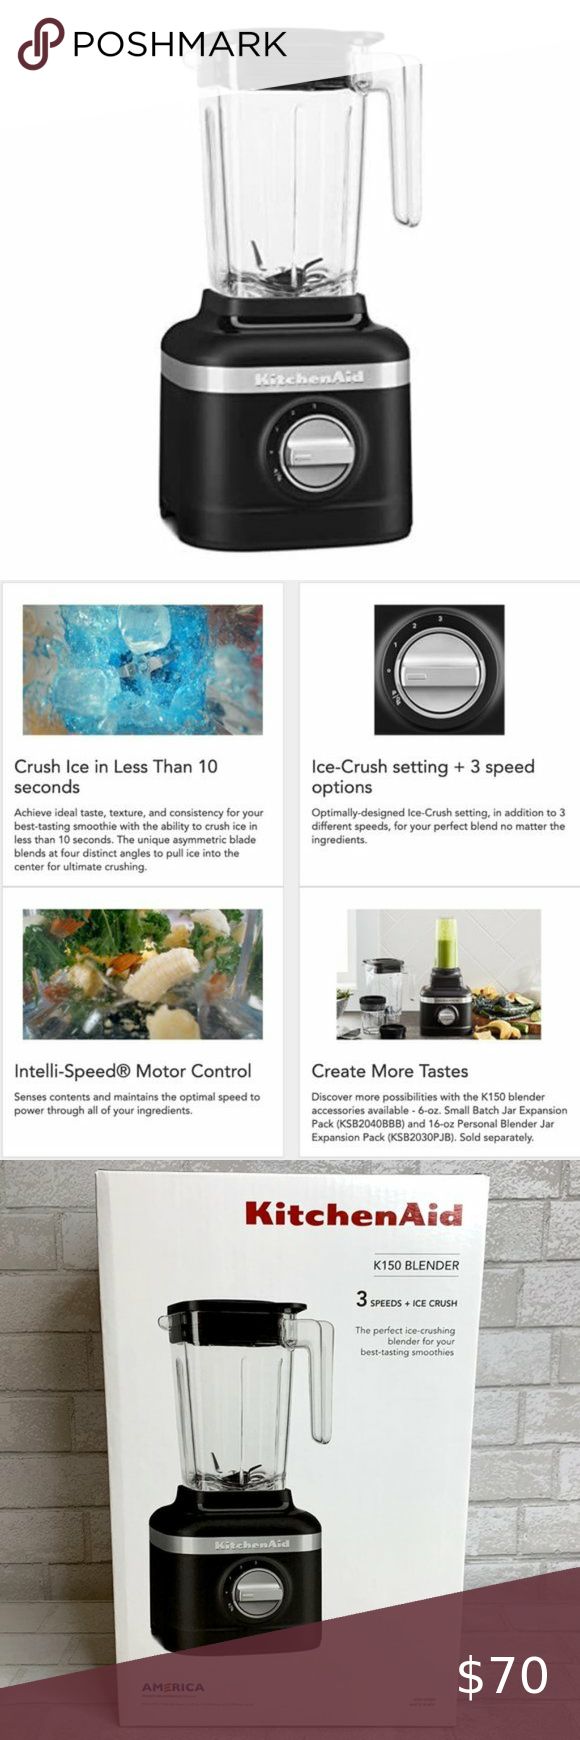
To clean a Kitchenaid blender, disassemble the blender jar and blade, wash them with warm soapy water, rinse thoroughly, and let them air dry before reassembling. Your blender is a crucial tool in the kitchen, helping you whip up smoothies, soups, and more.
But after use, it’s important to thoroughly clean your Kitchenaid blender to maintain its performance and hygiene. We will guide you on how to clean your Kitchenaid blender in a few simple steps. By following these instructions, you can ensure that your blender stays in optimal condition and ready for use whenever you need it.
So let’s get started and learn how to clean a Kitchenaid blender effectively.
Credit: www.homesandgardens.com
Cleaning Tools And Materials
When it comes to keeping your Kitchenaid blender clean and in top-notch condition, having the right tools and materials is essential. With the proper cleaning tools and materials, you can quickly and effectively remove any stubborn residue, ensuring that your blender is ready for your next culinary adventure. Let’s take a closer look at the required tools and recommended cleaning materials for your Kitchenaid blender:
Required Tools For Cleaning
To clean your Kitchenaid blender thoroughly, you will need the following tools:
| Tools | Description |
|---|---|
| Dish brush | A small brush with bristles to help scrub hard-to-reach areas of the blender. |
| Microfiber cloth | A soft cloth that is gentle on the blender’s surface and helps to remove dirt and stains. |
| Cotton swabs | Useful for cleaning crevices and small areas of the blender. |
| Old toothbrush | An excellent tool for scrubbing stubborn residue off the blender’s blades. |
| Hot soapy water | Warm water combined with dish soap is an effective cleaning solution. |
Recommended Cleaning Materials
When it comes to choosing the right cleaning materials for your Kitchenaid blender, there are several options that are safe and effective:
- Vinegar: A natural cleaning agent that can help remove stubborn stains and odors.
- Baking soda: When combined with water, baking soda creates a potent cleaning paste.
- Lemon juice: Its acidic properties make lemon juice a great natural cleaner.
- Mild dish soap: A gentle dish soap is safe to use on your blender’s surfaces.
By having these recommended cleaning materials on hand, you can ensure that your Kitchenaid blender stays clean and well-maintained.
Credit: www.homedepot.com
Can the tips for supercharging a Kitchenaid hand blender also be used for cleaning a Kitchenaid blender?
Yes, the top KitchenAid blender charging techniques can also be used for cleaning a KitchenAid blender. By following the same tips for supercharging a KitchenAid hand blender, such as using warm soapy water and a soft cloth, you can effectively clean your KitchenAid blender as well.
Step-by-step Guide To Cleaning
Keeping your KitchenAid blender clean is essential to maintaining its performance and prolonging its lifespan. A clean blender not only ensures hygienic food preparation but also prevents the buildup of residue that can affect the taste and texture of your recipes. In this step-by-step guide, we will walk you through each stage of the cleaning process, ensuring your blender is sparkling clean and ready for your next culinary adventure.
Step 1: Disassemble The Blender
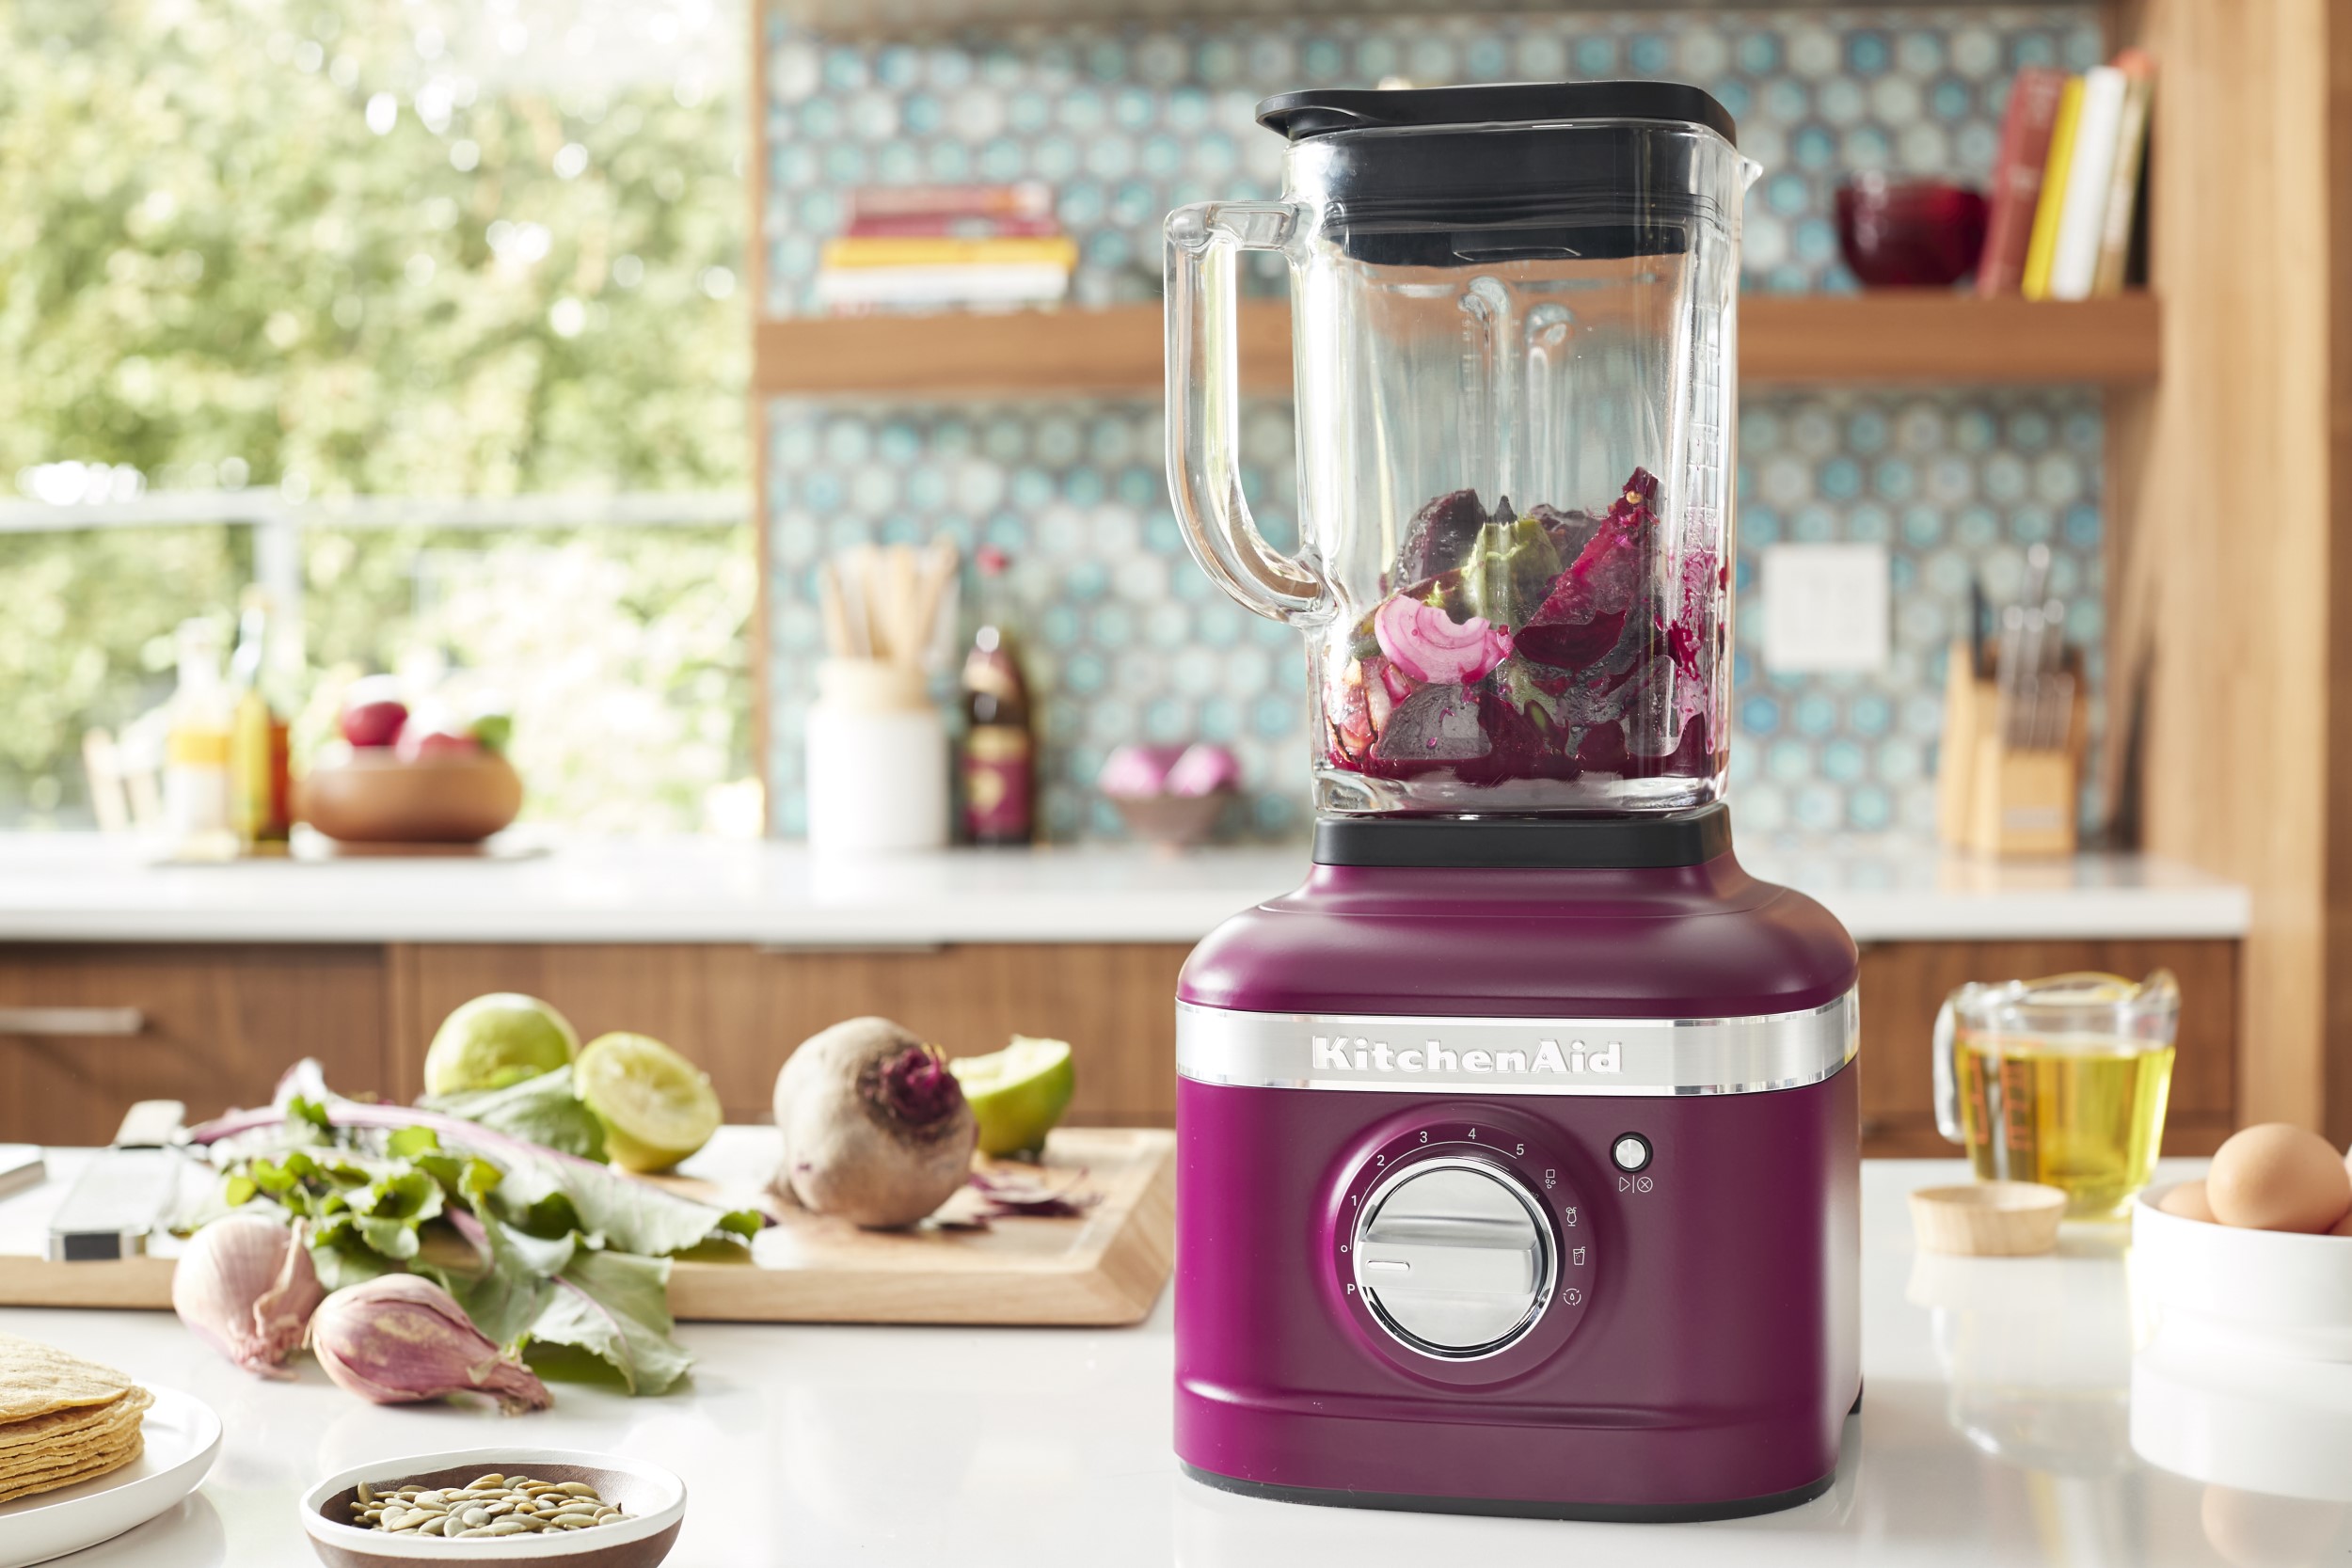
To start cleaning your KitchenAid blender, you need to take it apart. Begin by unplugging the blender from the power source and carefully removing the pitcher or jar from the base. Next, unscrew the blade assembly by turning it counterclockwise. It’s important to handle the blade assembly with caution as the blades are sharp.
Step 2: Rinse The Removable Parts
Now that the blender is disassembled, you can proceed to rinse the removable parts. Fill your kitchen sink or a large bowl with warm water and a few drops of dish soap. Place the pitcher, blade assembly, and any other removable parts into the soapy water. Let them soak for a few minutes to loosen any food particles or residue.
After the parts have soaked, use a non-abrasive sponge or brush to thoroughly clean them. Pay special attention to the blades and any hard-to-reach crevices. Rinse the parts with water to remove all soap residue, ensuring they are completely clean.
Step 3: Remove Stuck-on Residue
If you notice any stubborn residues or stuck-on food, it’s time to tackle them. Fill a small bowl with warm water and add a teaspoon of baking soda. Dip a sponge or cloth into the mixture and gently scrub the affected areas until the residue loosens. Rinse with clean water afterward.
Step 4: Clean The Blender Base
While the removable parts are drying, it’s crucial to clean the blender base. Take a damp cloth or sponge and wipe down the base, paying attention to any buttons, switches, or dials. Ensure that no water enters the motor housing area to prevent damage. If the base is particularly dirty, you can use a mild kitchen cleaner or a solution of water and vinegar to remove stubborn stains or grease. Wipe it dry with a clean cloth.
Step 5: Dry And Reassemble The Blender
After washing, rinse, and drying the removable parts, they are ready to be reassembled. Make sure all parts are completely dry to avoid any moisture-related issues. Start by attaching the blade assembly to the bottom of the pitcher or jar by turning it clockwise. Then, place the pitcher or jar back onto the blender base and secure it in place. Ensure that it is aligned properly to avoid leaks or spills during blending.
Finally, plug in the blender and give it a quick test run to make sure everything is functioning properly. Once you’re satisfied, your clean and fresh KitchenAid blender is ready to be used for your next culinary creations.

Credit: www.nytimes.com
Frequently Asked Questions On How To Clean A Kitchenaid Blender
How Do You Clean The Inside Of A Blender?
To clean the inside of a blender, disassemble the blender and wash the removable parts with warm soapy water. Use a brush or sponge to clean hard-to-reach areas. Rinse thoroughly and dry before reassembling. Wipe the base of the blender with a damp cloth.
Avoid submerging the base in water.
How Do You Clean Buildup In Blender?
To clean buildup in a blender, fill it with warm water and add a few drops of dish soap. Run the blender on low for a minute, then rinse it thoroughly with water. Finally, wipe the blender dry with a clean towel.
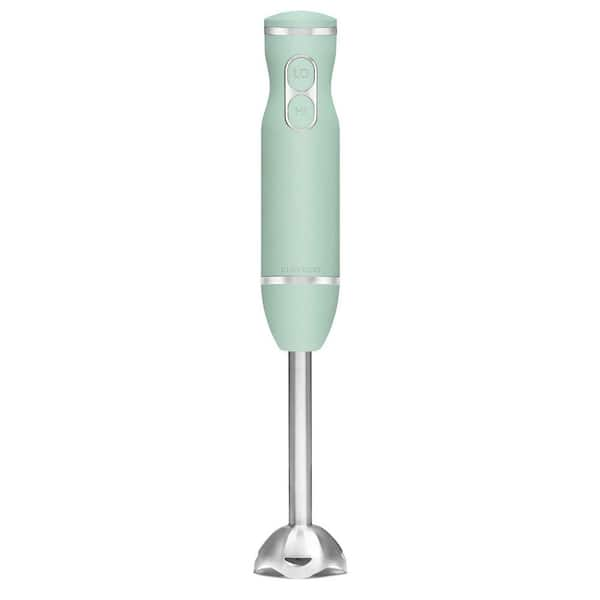
How Do I Clean My Kitchenaid Immersion Blender?
To clean your KitchenAid immersion blender, follow these steps: 1. Disconnect the blender from the power source. 2. Remove the blending shaft and attachments. 3. Rinse the components with warm soapy water. 4. Use a soft cloth or sponge to wipe away any residue.
5. Dry the parts thoroughly before reassembling.
How Do You Clean The Kitchenaid Artisan?
To clean the KitchenAid Artisan, follow these steps: 1. Unplug and remove any attachments. 2. Wipe the exterior with a damp cloth. 3. Wash the bowl, attachments, and splash guard in warm, soapy water. 4. Rinse and dry them thoroughly.
5. Use a soft brush to clean the beater and other hard-to-reach spots.
Conclusion
Regularly cleaning your Kitchenaid blender is essential for maintaining its performance and longevity. By following the simple steps outlined in this blog post, you can effortlessly keep your blender in pristine condition. Remember to disassemble and clean the components separately, using mild soap and warm water.
Rinse thoroughly and dry thoroughly before reassembling. With proper care and cleaning, your Kitchenaid blender will continue to serve you delicious and nutritious smoothies for years to come. So, don’t wait! Start cleaning your blender today and enjoy a fresh and hygienic blending experience.

