How to Change Kitchenaid Blender Coupler: An Easy DIY Guide
To change the Kitchenaid blender coupler, first, unplug the blender and remove the base cover. Then, unscrew the retaining nut and remove the old coupler.
:max_bytes(150000):strip_icc()/20210716-meat-grinder-review-vicky-wasik-seriouseats-1-53b8ff5689244b9698eaf0de86b6454c.jpg)
Credit: www.seriouseats.com
Step-by-step Guide
Is your Kitchenaid blender not working as efficiently as it used to? The problem may lie with the coupler, a small but crucial part that connects the motor to the blade assembly. Over time, the coupler can wear out or break, causing the blender to malfunction. The good news is that changing the coupler is a relatively simple task that you can do yourself with just a few basic tools. Follow this step-by-step guide to replace the coupler in your Kitchenaid blender.
Step 1: Safety Precautions
Before you begin, ensure the safety of yourself and others by disconnecting the blender from the power source. This will prevent any accidental injuries or damage to the blender. Additionally, make sure the blender is placed on a sturdy surface and keep your work area clean and organized.
Step 2: Disassembling The Blender
To access the coupler, you’ll need to disassemble the blender. Start by removing the pitcher or jar from the base and set it aside. Then, carefully lift off the lid or the top section of the blender, exposing the blade assembly and coupler. Take note of the orientation of the blades so that you can reference it later during reassembly.
Step 3: Removing The Old Coupler
With the blade assembly and coupler exposed, the next step is to remove the old coupler. Most Kitchenaid blenders have a plastic cap or retaining ring that covers the coupler. Find the cap or ring and gently pry it off using a flathead screwdriver or a similar tool. Once removed, you’ll be able to see the coupler clearly. Grip the coupler firmly and twist it counterclockwise to unscrew it from the motor shaft. If it’s stubborn, you can use a pair of pliers for extra leverage.
Step 4: Installing The New Coupler
Now that the old coupler is removed, it’s time to install the new one. Take the new coupler and align it with the motor shaft. Make sure it’s positioned correctly, with the tabs on the coupler lining up with the grooves on the motor shaft. Once in position, firmly twist the coupler clockwise to screw it onto the motor shaft. Ensure it is tightly secured in place.
Step 5: Reassembling The Blender
With the new coupler in place, it’s time to reassemble the blender. Start by placing the blade assembly back onto the motor shaft, aligning it with the tabs and grooves. Once the blade assembly is in place, carefully place the pitcher or jar back onto the base, ensuring it is aligned properly. Finally, replace the lid or top section of the blender. You should hear a satisfying click when everything is properly reassembled.
And there you have it! By following these simple steps, you’ve successfully changed the coupler in your Kitchenaid blender. Now you can enjoy using your blender once again with confidence and efficiency.

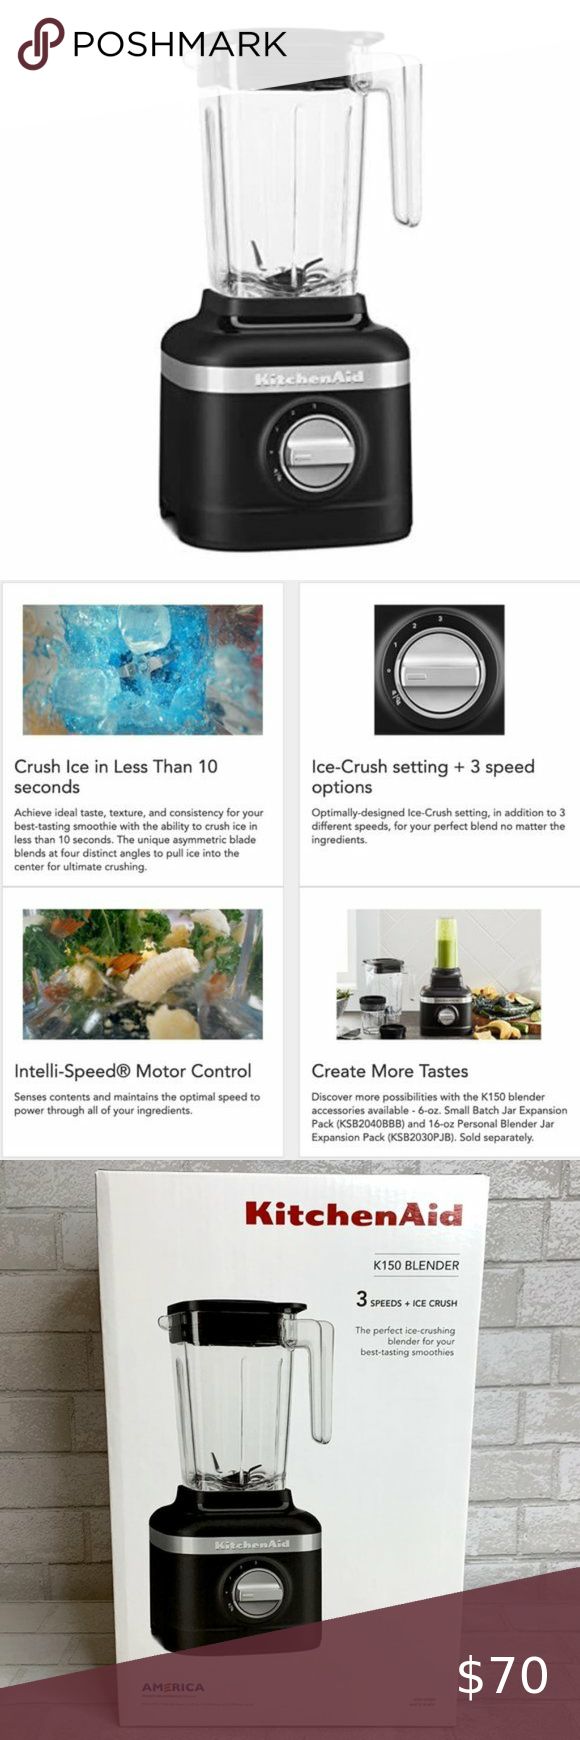
Credit: www.amazon.com
Can Regular Maintenance Prevent the Need to Change the Blender Coupler?
Regular maintenance, including a deep clean kitchenaid blender blade, can prevent the need to change the blender coupler. By keeping the blade clean and free from buildup, you can extend the life of the coupler and ensure that your blender continues to operate smoothly and efficiently.
Tips And Troubleshooting
When it comes to replacing the coupler in your Kitchenaid blender, a few tips and troubleshooting knowledge can go a long way in ensuring a smooth and successful DIY project. In this section, we will discuss some valuable tips to make the process easier, as well as common troubleshooting issues you may encounter along the way.
Tips For A Smooth Diy Coupler Replacement
If you’re ready to tackle the task of changing the coupler in your Kitchenaid blender, here are a few tips to help you make the process as smooth as possible:
- Gather the necessary tools: Before you begin, it’s important to have all the necessary tools on hand. These typically include a flathead screwdriver, a Phillips head screwdriver, pliers, and possibly a wrench. Having these tools readily available will save you time and frustration.
- Consult the owner’s manual: Familiarize yourself with the inner workings of your specific Kitchenaid blender by referring to the owner’s manual. This will provide you with essential information on accessing the coupler and any specific instructions you need to follow.
- Disconnect the power: To ensure your safety, always disconnect the blender from its power source before beginning the replacement process. Unplugging the blender will prevent any accidental starts or potential electrical hazards.
- Remove the blender jar: Start by removing the blender jar from the base of the unit. This will expose the coupler and allow for easier access during the replacement process.
- Secure the motor shaft: Once the jar is removed, you may need to secure the motor shaft to prevent it from spinning. Depending on the model of your blender, this can be done by either using pliers to grip the shaft or by using a wrench to hold it in place.
- Remove the old coupler: With the motor shaft secured, you can now proceed to remove the old coupler. Using a screwdriver or a similar tool, carefully loosen and remove any screws or fasteners that are holding the coupler in place.
- Install the new coupler: Once the old coupler is removed, it’s time to install the new one. Align the new coupler with the motor shaft and carefully tighten any screws or fasteners to secure it in place. Ensure that it is properly aligned to prevent any issues with blender performance.
- Reassemble the blender: With the new coupler in place, it’s time to reassemble your Kitchenaid blender. Make sure all the components are properly aligned and tightened, and reattach the blender jar to the base of the unit.
- Test the blender: Before you celebrate your successful coupler replacement, ensure everything is in working order by testing the blender. Plug it back in, turn it on, and listen for any unusual sounds or vibrations. If everything sounds and feels right, congratulations! You’ve successfully replaced the coupler in your Kitchenaid blender.
Common Troubleshooting Issues And Solutions
While replacing the coupler in your Kitchenaid blender, you may encounter some common issues. Here are a few troubleshooting tips to help you overcome them:
| Issue | Solution |
|---|---|
| The coupler is difficult to remove | Apply a small amount of lubricating oil to the base of the coupler and allow it to sit for a few minutes. This will help loosen the coupler and make removal easier. Additionally, using pliers or a wrench for better grip might ease the process. |
| The blender still doesn’t work after coupler replacement | Double-check that the new coupler is properly aligned and securely fastened to the motor shaft. If the blender still doesn’t work, inspect the wiring and electrical connections to ensure there are no loose or damaged parts. It might be necessary to consult a professional if the issue persists. |
| The blender is making strange noises or vibrating excessively | Check that all the components are properly aligned and tightened. Loose or misaligned parts can cause excessive vibrations or unusual sounds. If needed, refer to the owner’s manual for specific instructions on how to properly align the components. |
| The blender blade is not spinning as efficiently as before | The blender blade’s performance can be affected by the alignment of the coupler. Ensure that the coupler is aligned correctly and properly attached to the motor shaft. If issues persist, consider replacing the blender blade as well, as it may be damaged or worn out. |
By following these tips and troubleshooting techniques, you’ll be well-equipped to successfully change the coupler in your Kitchenaid blender. Remember to always prioritize safety and refer to the owner’s manual for model-specific guidance. Happy blending!

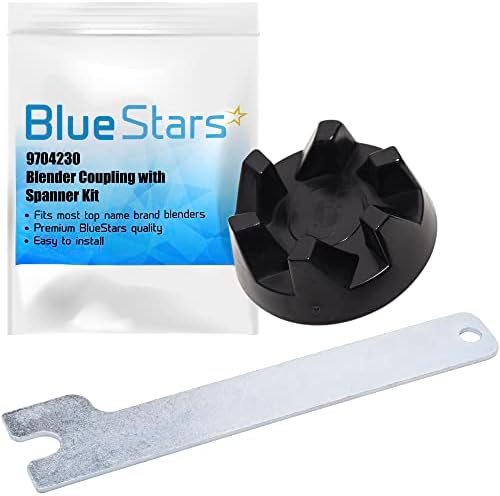
Credit: www.ebay.com
Frequently Asked Questions For How To Change Kitchenaid Blender Coupler
How Do I Remove A Drive Coupling In Blender?
To remove a drive coupling in a blender, follow these steps: 1. Unplug the blender from the power source. 2. Locate the drive coupling which connects the motor and the blade assembly. 3. Use a wrench to hold the motor shaft firmly while turning the coupling counterclockwise.
4. Remove the coupling by pulling it off the motor shaft.
How Do You Change The Blade On A Kitchenaid Blender?
To change the blade on a KitchenAid blender, follow these steps: 1. Unplug the blender. 2. Remove the pitcher from the base. 3. Turn the pitcher upside down and locate the blade assembly. 4. Twist the assembly counterclockwise to remove.
5. Replace with a new blade assembly and twist clockwise to secure.
How Do You Replace Rubber In A Blender?
To replace rubber in a blender, follow these steps: 1. Unplug the blender and remove the rubber ring or seal from the blender blade assembly. 2. Clean the blade assembly and ensure the new rubber ring fits properly. 3. Place the new rubber ring onto the blade assembly and ensure it is securely in place.
4. Reassemble the blender, plug it in, and test it. Your blender is now ready to use with the new rubber in place.
How Do I Fix A Leaking Kitchenaid Blender?
To fix a leaking KitchenAid blender, start by checking if the blender jar is properly tightened. If it’s loose, tighten it securely. Next, inspect the gasket seal to ensure it’s in good condition and properly aligned. If it’s worn or damaged, replace it.
Finally, make sure the blade assembly is securely tightened.
Conclusion
To sum it up, replacing the Kitchenaid blender coupler is a simple process that can save you time and money. By following the step-by-step instructions provided in this guide, you can easily change the coupler and get your blender back up and running in no time.
Remember to choose the right replacement part and always refer to the manufacturer’s instructions for safety precautions. Now, you’re equipped with the knowledge and confidence to tackle this DIY fix and enjoy the convenience of your Kitchenaid blender once again.