How Do Different Blender Settings Work: Unveiled Secrets
Different blender settings adjust speed and power to optimize the consistency of various ingredients. They range from crushing ice to pureeing fruits and vegetables.
Blenders have become indispensable kitchen gadgets for both culinary enthusiasts and casual cooks alike, providing an easy way to create smoothies, soups, and sauces. Understanding how these settings function can transform your blending experience, ensuring you achieve the perfect texture for every recipe.
A well-designed blender typically offers a variety of options, each engineered to tackle specific tasks such as chopping rough cuts, grinding grains, or emulsifying dressings. By mastering your blender’s settings, you can enhance the quality of your dishes while also extending the appliance’s lifespan through proper use.
Blending Basics: Beyond The Power Button
Many avid kitchen enthusiasts often overlook the array of buttons on their blender. The power button starts the process, but the real art lies in using the correct settings for perfect blends. Understanding blender settings can turn a good smoothie into a great one, and give sauces the perfect consistency. Let’s discover what each setting really does and how to use them effectively.
Functionality Of Blender Speeds
Different ingredients require different speeds. Know your blender’s speeds:
- Low speed is ideal for chopping ingredients.
- Medium speed blends well for a consistent mixture.
- High speed pulverizes and liquefies ingredients fast.
Use speed variations to layer flavors and textures.
Pulse Feature Explained
The Pulse feature gives better control over the blending process. Instead of running continuously, it operates in short bursts. Here’s why Pulse is essential:
- It helps chop foods without over-processing.
- Pulse can mix tough items into softer ones.
- It prevents over-heating and keeps the texture perfect.
Experiment with the Pulse feature to refine your culinary creations.

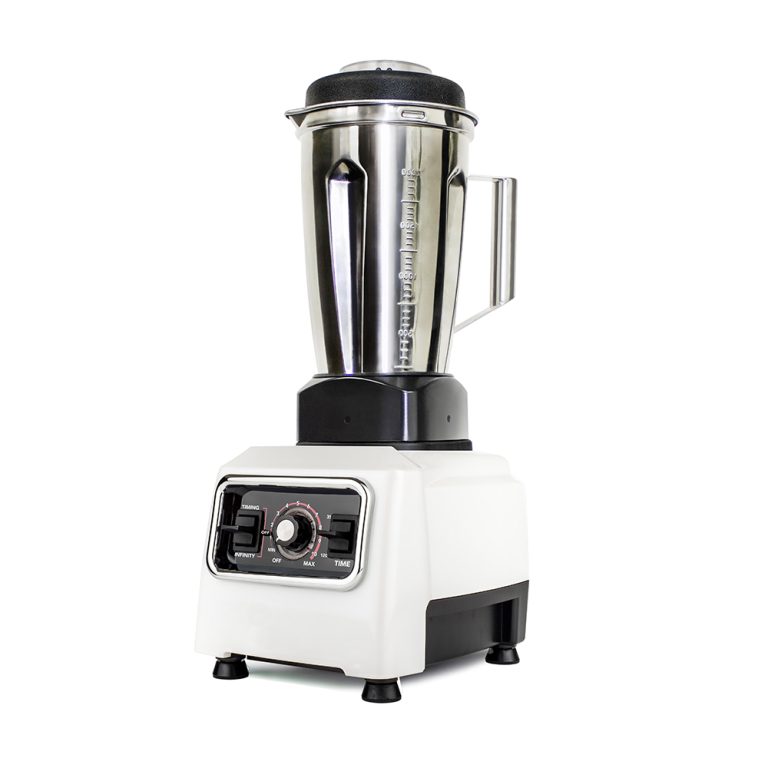
Credit: www.amazon.com
Unpacking The Preset Programs
Modern blenders come packed with a variety of preset programs. These settings make blending an effortless task. Each program uses unique blade speeds and timing sequences. They all aim to achieve the perfect texture for your blend. Let’s dive into some of the most popular presets and discover their secrets!
Ice Crushing Mode Secrets
Blenders with an Ice Crushing mode have become kitchen staples. This setting uses powerful pulses at high speed. It breaks down ice cubes into crunchy nuggets. This mode is perfect for frozen cocktails or ice beds for seafood.
- Quick pulses: Shatter ice without melting it
- High power: Ensures even crushing
Smoothie Setting For Perfect Consistency
The Smoothie setting is tailor-made for creamy blends. It gradually increases speed to blend fruits and veggies. You get a silky-smooth beverage every time. No more lumps or unblended bits!
| Phase | Action |
|---|---|
| Start | Slow blend to break down chunks |
| Mid-cycle | Speeds up to create a vortex |
| End | Slows down to smooth out the mixture |
Puree Function And Its Uses
For silky soups or baby food, the Puree function is your best friend. This preset maintains a constant, lower speed. It ensures a velvety finish without any chunks. Great for creamy soups, sauces, and more.
- Consistent speed: Avoids splattering and ensures even texture
- Mild blending: Protects delicate ingredients from overprocessing
The Science Of Blades And Settings
Wondering why your blender has so many settings and buttons? The secret lies in ‘The Science of Blades and Settings’. Each setting is a unique combination of speed and cutting style. It is designed to handle different ingredients and textures. Let’s discover how different blender settings work with science!
Impact Of Blade Design On Blending
Blades are the heart of a blender’s performance. Their design directly affects how ingredients blend. Sharp blades create smooth textures. They slice through fruits and vegetables with ease. Blunt blades are perfect for crushing ice. They turn it into fine snow. The shape of the blade also matters. Some are curved for creating a vortex. This helps pull ingredients towards the blades for consistent results.
- Flat blades: Best for dry grinding and mixing.
- Cross blades: Ideal for liquids and making smoothies.
- Wing-tipped blades: Help in reducing chunks, for creamy outputs.
Coordinating Speed And Blade Action
Speed settings tweak the power at which blades spin. Different speeds allow for a range of textures—from chunky salsas to silky soups. Understanding these speeds can level up your blending game.
| Speed Setting | Action | Use Case |
|---|---|---|
| Pulse | Short bursts | Chopping nuts |
| Low | Steady blend | Dressings, sauces |
| High | Powerful blend | Smoothies, purees |
| Liquefy | Ultra-smooth texture | Soups, nut butters |
Selecting the right speed is crucial. It ensures every ingredient reaches its ideal texture. The low setting starts the blending slow. It prevents splashing. The high setting finishes the job. It creates creamy outcomes. For a quick chop, pulse is your friend. It gives you more control over the size of the pieces. Use liquefy for the smoothest results possible. The blender’s engine speeds up. The blades turn ingredients into velvety delights.

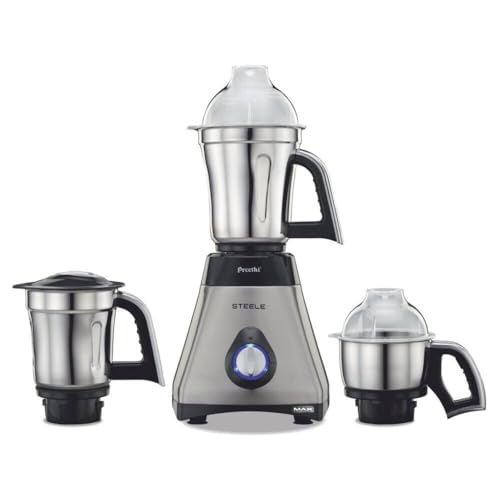
Credit: www.amazon.com
Techniques To Master Texture
Blenders are kitchen magicians, transforming ingredients with a push of a button. But to wield this magic wand like a pro, understanding the art of texture is key. Below, discover how to master the blender settings that yield the perfect consistency every time.
Layering Ingredients For Optimized Blending
The secret to seamless smoothies and sauces begins with strategic layering. This technique prevents wear on the blender’s blades and ensures efficient blending.
- Liquids first: Always start with liquids. They create a vortex that helps pull solids down for even blending.
- Add soft foods next: Follow with soft items or powders like yogurt, honey, or protein powder.
- Finish with hard items: Top off your layers with hard or frozen ingredients, such as ice, nuts, or frozen fruit.
Manipulating Settings For Desired Result
Different blender speeds and functions craft a variety of textures.
| Setting | Use For | Texture Outcome |
|---|---|---|
| Pulse | Chopping nuts, making salsa | Chunky |
| Low | Starting smoothies, stirring soup | Coarse blend |
| High | Green smoothies, pureeing | Very smooth |
Start with a pulse to break down large pieces. Then switch to higher speeds gradually. Use the tamper if available to push ingredients toward the blades. This encourages a uniform texture.
Maintenance And Care For Longevity
Ensuring your blender remains in peak condition involves simple yet crucial steps. Regular maintenance and proper cleaning habits extend the lifespan of your kitchen ally. Follow these practical tips to keep your blender running smoothly for years to come.
Cleaning Tips for BlendersCleaning Tips For Blenders
Cleaning your blender shouldn’t be a daunting task. Make it sparkle with these straightforward and quick tips:
- Rinse right after use to prevent residue from sticking.
- Fill the jar with warm water and a drop of dish soap, then run for 30 seconds.
- Dismantle and wash removable parts separately for a thorough clean.
- Avoid harsh chemicals; choose mild cleaners instead.
- For stubborn stains, use a blend of baking soda and water as a gentle scrub.
- Ensure all parts are completely dry before reassembling to prevent mold.
Regular Maintenance Checklist
Stay on top of your blender’s well-being with this concise maintenance checklist:
| Frequency | Maintenance Task |
|---|---|
| After each use | Inspect the seal for leaks. Check the blades for dullness. |
| Weekly | Ensure the base and control panel are clean. |
| Monthly | Tighten any loose screws. Verify motor sound for irregularities. |
| Bi-Annually | Consider professional servicing for wear and tear. |
Maintain a sharp blade for optimal performance. Store your blender in a dry, clean place to prevent accidental damage. Following these tips ensures your blender remains a dependable kitchen tool for creating delicious recipes.

Credit: www.udemy.com
Frequently Asked Questions Of How Do Different Blender Settings Work
What Do Blender Speed Settings Mean?
Blender speed settings adjust the blade rotation speed. Lower speeds are for chopping or mixing, while higher speeds pulverize or liquefy ingredients. Precise control allows for consistent textures and better taste in your blends.
Can I Crush Ice On Any Blender Setting?
Not all settings are designed for ice. Use a blender’s ice-crush or pulse setting. These settings provide bursts of power that break down ice without wearing out the blades or motor.
How Does A Blender’s Pulse Function Work?
A blender’s pulse function delivers short, powerful bursts of speed. This helps to coarsely chop ingredients, prevent over-processing, and dislodge food stuck under the blade. It’s a manual control for greater precision.
Why Use A Blender’s Grind Setting?
The grind setting is for hard ingredients like coffee beans or spices. It utilizes a slower speed that enables a fine, even grind without overheating sensitive ingredients, maintaining flavor and aroma.
Conclusion
Understanding your blender’s settings elevates your culinary skills to new heights. Each function is tailored to blend, chop, or puree ingredients to perfection. Armed with this knowledge, unleash the full potential of your kitchen companion. Experiment confidently and blend your way to delicious creations every time.


