Can Blenders Do Dry Grinding? Unlock the Secret!
Yes, many blenders can do dry grinding, but it is not advisable for all models. It greatly depends on the blender’s design and the toughness of the materials used in its blades and jar.
Most kitchens boast a multitasking hero in the blender, a standard appliance favored for liquidizing, pureeing, and emulsifying food. Yet, its proficiency extends beyond these common tasks, venturing into the realm of dry grinding. Blenders that are engineered to handle the strain of grinding dry ingredients can pulverize various items like spices, grains, and coffee beans into fine powders.
Opting for a blender that specifies dry grinding compatibility ensures that you won’t damage your appliance or wear it out prematurely. It’s crucial for consumers to check the manufacturer’s guidance before attempting to grind dry ingredients to avoid mishaps and maintain the longevity of their blender. Always aim for blenders with sturdy blades and robust motors, ideally with dedicated dry grinding jars, to obtain optimal results in your culinary preparations.
Blenders 101: Capabilities And Limitations
Blenders are versatile kitchen tools, but do they handle everything? Can they specifically manage the tough task of dry grinding? This section explores the features of different blenders and reveals how motor strength plays a role in dry grinding capabilities.
Varieties Of Blenders
Various blenders offer unique features. Choose the right one for your kitchen.
- Countertop Blenders: Ideal for smoothies and wet ingredients.
- Immersion Blenders: Best for puréeing directly in the pot.
- Personal Blenders: Compact and perfect for single servings.
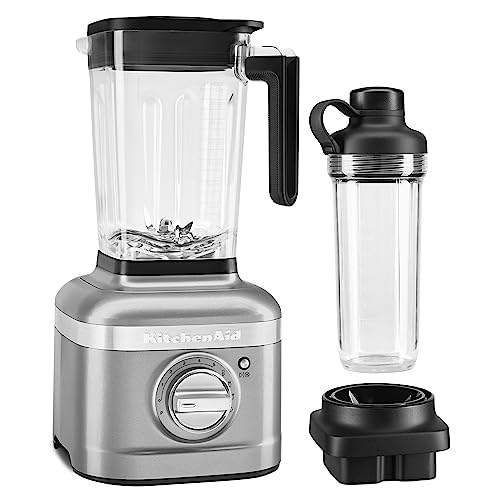
- High-Performance Blenders: Equipped for challenging tasks like dry grinding.
Understanding Motor Strength
The motor’s power is crucial for dry grinding. Stronger motors grind dry ingredients effectively.
| Motor Power (Watts) | Suitable Tasks |
|---|---|
| 200-600W | Liquids, soft fruits |
| 600-1000W | Nuts, hard fruits |
| 1000W & above | Ice, dry grains |
High motor strength means more effective dry grinding. Always check the wattage before attempting to grind dry ingredients.

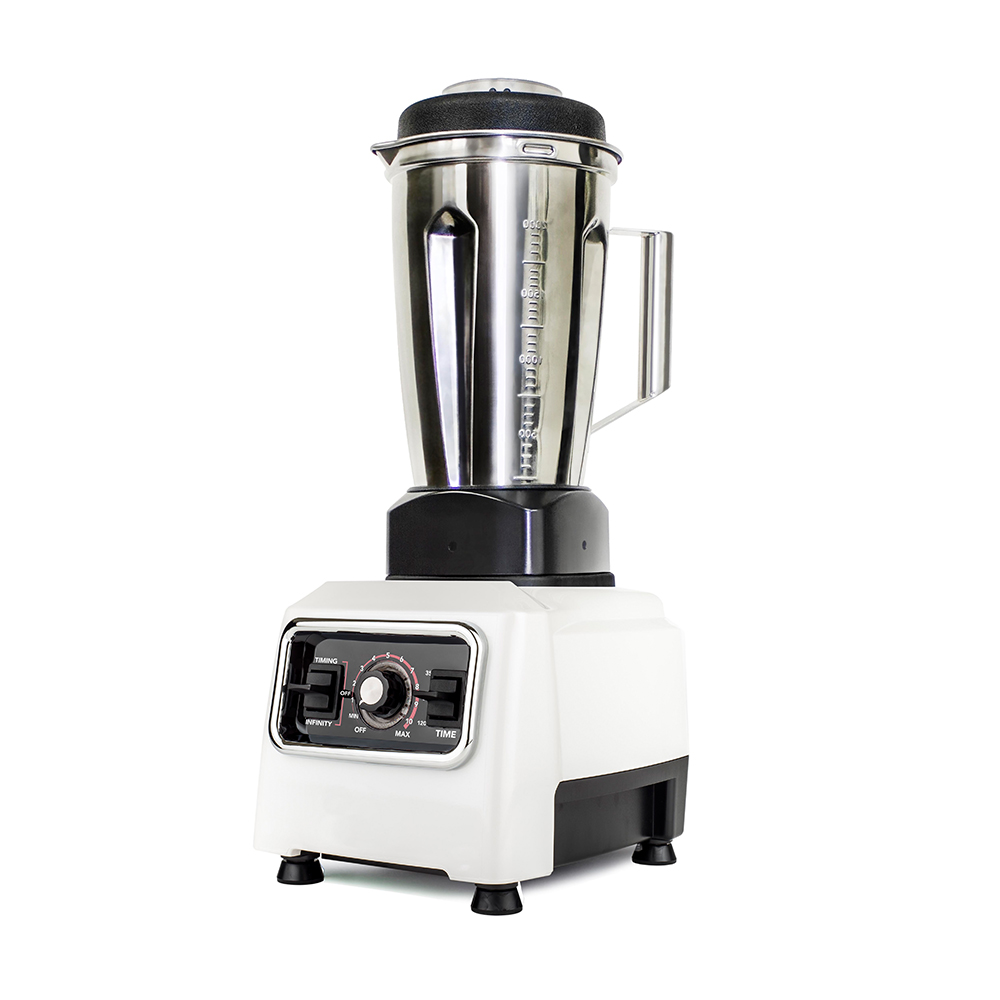
Credit: www.amazon.com
Dry Grinding: The Basics
Think of dry grinding as a spice superhero. Turning crisp ingredients into fine powders ready for cooking? That’s the magic of a blender in dry grinding mode. But not all heroes wear capes. Some come with a specific blade and jar designed for the tough task of grinding dry goods. This versatility turns a simple blender into a multipurpose kitchen gadget.
Dry Vs. Wet Grinding
Dry grinding is different from wet grinding. During dry grinding, blenders tackle hard, dry stuff like grains, nuts, and seeds. Wet grinding, on the other hand, deals with soft and liquid items like fruits and vegetables.
| Dry Grinding | Wet Grinding |
|---|---|
| No added liquid | Needs water or other liquids |
| Creates powders | Makes pastes and purees |
Common Dry Grinding Ingredients
Blenders can make quick work of some tough ingredients. What can you transform into powder? Here’s a list.
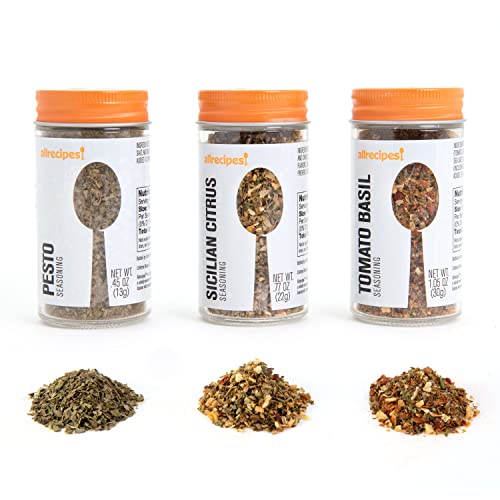
- Spices like cumin, peppercorns, and cloves
- Grains such as rice, oats, and wheat
- Nuts from almonds to peanuts
- Seeds including flax, chia, and sunflower
- Dried legumes like lentils and chickpeas
Assessing Your Blender For Dry Grinding
Wondering if your kitchen blender can handle dry grinding? Let’s find out. From spices to coffee beans, dry grinding is a common kitchen task. But, not all blenders are up to the challenge. We’ll check if your model is fit for the job.
Identifying Suitable Blade Types
Blades make the blend. For dry ingredients, you need a certain kind. Let’s learn what works best:
- Stainless steel is a must for durability.
- Blades should be flat and thick for effective grinding.
- A two-blade system often works well, but more can be better.
Checking Blender Jar Material
Your blender jar’s build is crucial for dry grinding. Here’s what to consider:
| Material | Pros | Cons |
|---|---|---|
| Glass | Doesn’t scratch easily | Can be heavy |
| Plastic | Lightweight, less breakable | May cloud over time |
| Stainless Steel | Durable, stable | Can’t see inside |
A thick-walled container withstands grinding’s demands. Check if yours fits the bill.
How To Dry Grind With Your Blender
Kitchen enthusiasts often wonder if their blenders can take on the task of dry grinding. The answer is yes! Turning your regular kitchen blender into a dry grinding machine is a useful trick. This can save both money and space in your kitchen. Below, you’ll discover the step-by-step process to use your blender for dry grinding along with some tips to achieve the best results. Let’s dive into the technique of transforming your blender into a grinding guru!
Step-by-step Process
- Ensure Blender is Compatible: Check to see if your blender is suitable for dry ingredients.
- Clean and Dry Completely: Make sure the blender is fully dry.
- Measure Ingredients: Don’t overload the blender.
- Secure the Lid Tightly: Prevent any spillage.
- Use Pulse Function: Start by pulsing before long blends.
- Grind to Desired Fineness: Stop when you reach the right consistency.
- Empty and Clean Blender: Immediately clean to avoid residue sticking.
Tips For Optimal Results
- Start with Small Batches: This ensures an even grind.
- Use a Dedicated Blade: If possible, keep one blade for dry grinding only.
- Don’t Ignore Overheating: Give your blender a break if it’s too hot.
- Shake Blender Occasionally: Helps in achieving a uniform texture.
- Maintain Regular Maintenance: Keep your blades sharp and your blender clean.
Ready to try? Remember these simple steps and tips and watch your blender perform wonders in dry grinding!
Potential Pitfalls And Solutions
Exploring the possibility of using your blender for dry grinding opens a world of culinary adventures. Yet, it is important to recognize that this function can come with challenges. Understanding potential pitfalls and strategic solutions ensures your blender operates efficiently, safely, and continues to provide value in your kitchen endeavors.
Overheating Issues
Pushing a blender to grind dry ingredients can sometimes lead to overheating. This not only risks damage to the appliance but can also impact the flavor of your spices. To tackle this issue, consider the following steps:
- Grind in short bursts: Instead of running your blender continuously, use pulse mode. This prevents the motor from working non-stop and heating up.
- Allow breaks: If you sense the appliance is getting warm, pause the grinding. This gives your blender time to cool down before you continue.
- Check your blender’s capacity: Some blenders are designed for heavier tasks. Ensure yours is suitable for dry grinding.
Achieving Consistent Texture
Obtaining the right texture is crucial when dry grinding. Irregular results can affect both the taste and presentation of your dishes. Here’s how to achieve a consistent grind:
- Use the right attachment: Dry grinding often requires a specific blade. Ensure your blender has one suited for this purpose.
- Measure your ingredients: Overfilling can result in uneven texture. Fill the blender jar to no more than a third of its capacity.
- Sift and repeat if necessary: After grinding, sift the powder. Larger pieces can go back into the blender for a second round.

Credit: www.toolots.com
Caring For Your Appliance Post-grinding
Mastering the art of dry grinding in your blender can open a world of culinary possibilities. Yet, the true test of becoming a blender grinding pro comes after the grinding is complete. Caring for your appliance ensures it continues to perform at its best. Step into the savvy world of blender maintenance with these essential tips.
Cleaning Best Practices
Immediate cleaning keeps your blender happy. Post-grinding, small particles can cling to your blender’s blades and container. These particles may cause damage or odors if not cleaned promptly.
- Disconnect your blender and remove the blade carefully.
- Rinse the blade and container with warm water.
- Use a soft sponge with mild detergent to clean. Avoid harsh scrubbers.
- Rinse all parts thoroughly. Remaining soap may affect future uses.
- Air dry completely before reassembling.
Maintenance For Longevity
Maintenance equals longevity; a simple equation for your appliance’s lifespan. Regular check-ups will add years to your blender’s life.
| Frequency | Task |
|---|---|
| After Each Use | Inspect for food particles and blade sharpness. |
| Monthly | Check for loose parts and wear. |
| Bi-Annually | Deep clean and consider professional servicing. |
Blender’s blades should stay sharp; dull blades work harder, causing wear. Tighten loose parts before they detach and interrupt your blending experience.
Avoid grinding extremely hard substances without checking your blender’s guidelines.
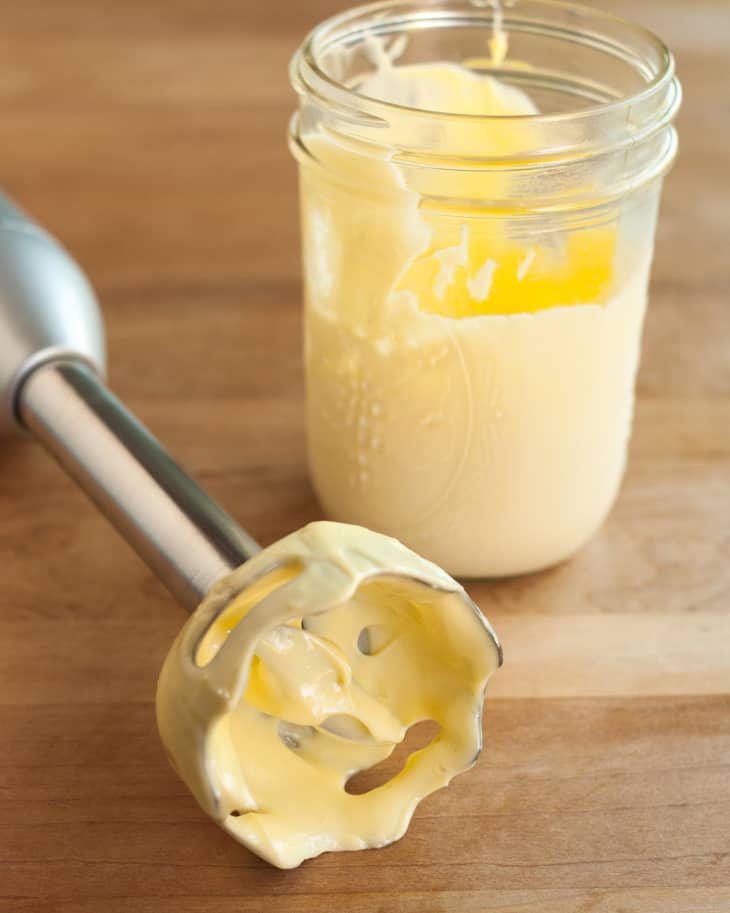
Credit: www.thekitchn.com
Frequently Asked Questions For Can Blenders Do Dry Grinding
Can Blenders Be Used For Dry Grinding?
Most blenders can handle dry grinding tasks, but their efficiency depends on the blender’s power and blade design. Specifically designed dry grinding jars are better suited for tasks like grinding grains or spices.
Is Dry Grinding Bad For Blenders?
Dry grinding occasionally is generally safe for most blenders. However, frequent dry grinding may lead to faster wear and tear of the blades and motor. To increase the lifespan of your blender, dry grind in moderation.
What Can You Dry Grind In A Blender?
Blenders are capable of grinding a variety of dry items. You can grind whole spices, coffee beans, grains into flour, and nuts into powder. However, the fineness of the grind may vary with the blender’s power.
Do You Need A Special Blade For Dry Grinding?
Some high-end blenders come with special blades optimized for dry grinding. These blades are better at creating a fine and even grind compared to standard blades. However, standard blades can still perform dry grinding effectively.
Conclusion
Exploring the versatility of blenders has been enlightening. The possibility of dry grinding opens up a realm of culinary creativity. Choosing the right blender is key—ensure it’s designed for dry ingredients. Regular cleaning will maintain its best condition. Embrace the convenience and let your kitchen experiments flourish.

