How To Use A Blender Bottle: Shake Up Your Fitness!
To use a blender bottle, add your ingredients, insert the wire whisk, screw on the lid, and shake vigorously. Ensure the cap is sealed tightly to prevent leaks while mixing.
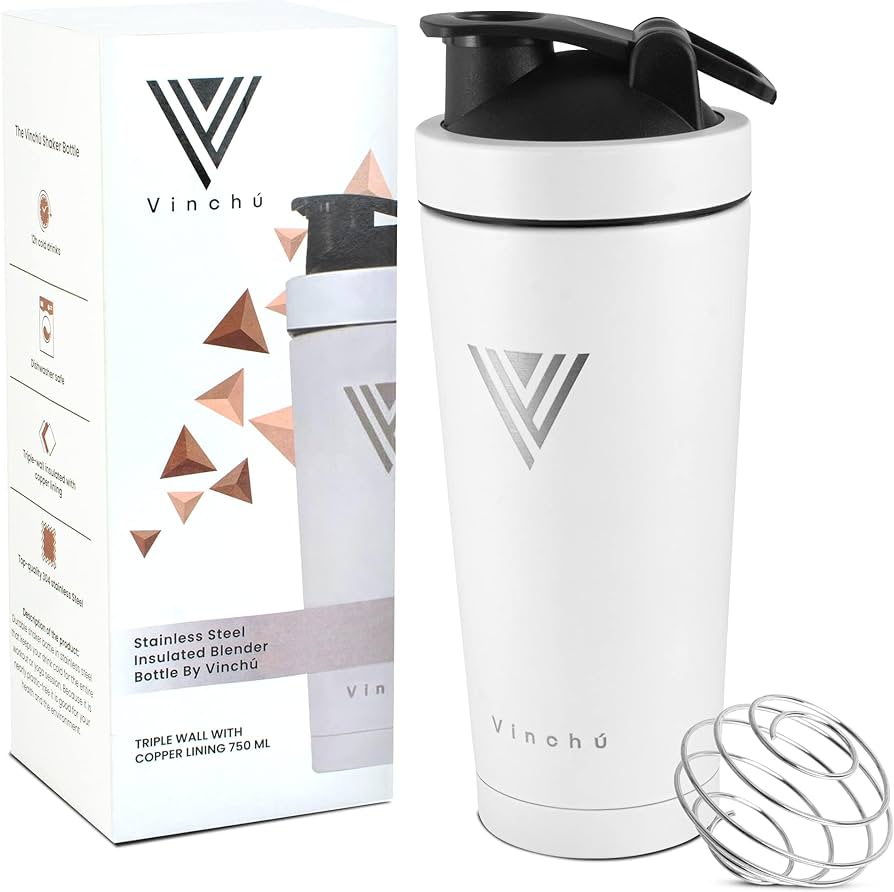
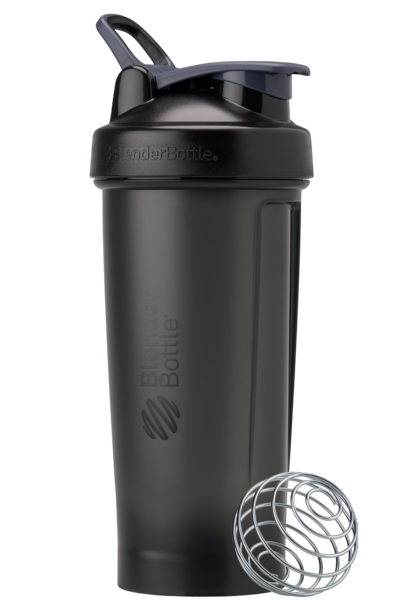
Blender bottles have revolutionized the way we mix our drinks, from protein shakes to smoothies. Compact and highly efficient, these bottles are the go-to solution for athletes, fitness enthusiasts, and anyone on the move. Designed with simplicity in mind, a blender bottle consists of a container, a tight-fitting lid with a spout, and a ball whisk that moves freely inside.
The magic lies in the ball—often a wire whisk—which works to blend your ingredients to a smooth consistency as you shake the bottle. This portable mixing powerhouse eliminates the need for bulky equipment, making it perfect for quick nutrition on the go. With their ease of use and ability to deliver lump-free beverages, blender bottles are a smart accessory for healthy lifestyles.

Credit: www.amazon.com
Shaking Up The Basics
Mastering the simple art of using a Blender Bottle can revolutionize quick nutrition. Mixing everything from protein shakes to pancake batter becomes a breeze. Let’s dive into the essentials of harnessing the power of this handy tool.
What Is A Blender Bottle?
A Blender Bottle is a versatile container designed for mixing. It’s perfect for athletes, busy parents, and health enthusiasts. Shake, store, and sip without hassle.
The Anatomy Of Efficient Shaking
Understanding your Blender Bottle ensures the smoothest mixing experience. Let’s break it down:
- Bottle: The container where ingredients mingle.
- Ball: A wire whisk that moves freely inside.
- Lid: Seals tight for a leak-free shake.
- Spout: Where you pour or sip the final mix.
For efficient shaking:
- Fill with liquid first.
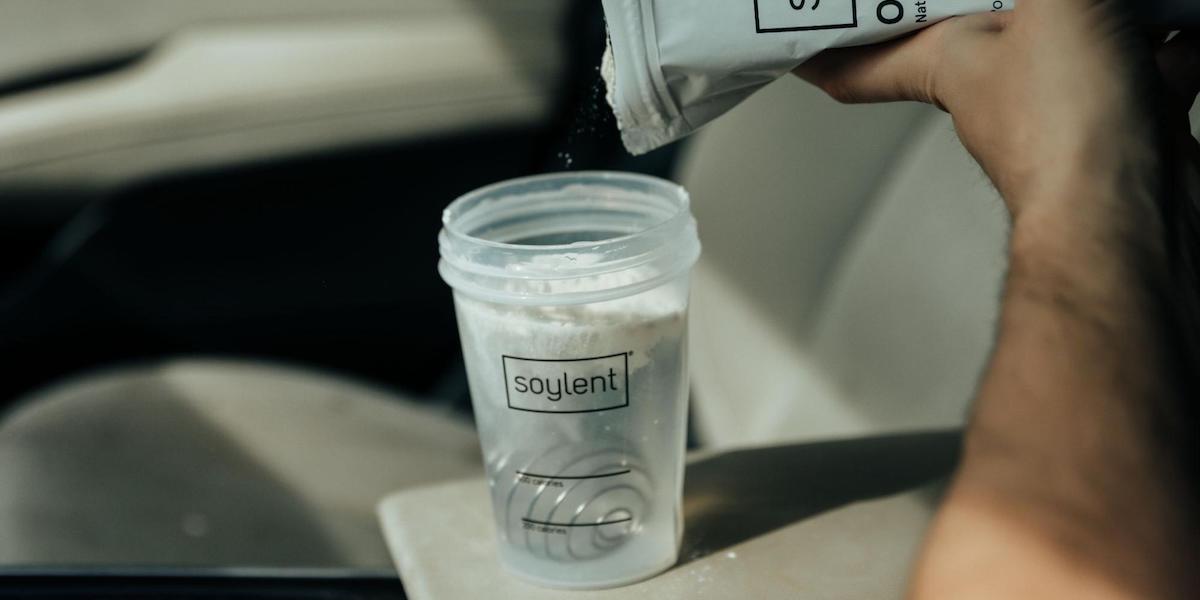
- Add powders or supplements.
- Screw the lid on tightly.
- Shake vigorously.
- Enjoy your perfectly mixed drink!
Prepping Your Ingredients
If you’re keen on crafting the perfect shake or smoothie, starting with the right ingredients is crucial. Consistency, flavor, and nutrition rest in the balance. Follow this guide to get the most out of your Blender Bottle.
Choosing The Right Liquids
Selecting the correct liquid base is vital for creating a delicious smoothie. It can make or break the taste and consistency. Start with these popular choices:
- Water: A calorie-free hydrator.
- Milk: Dairy or plant-based, it adds creaminess.
- Juice: For a natural sweetness and vitamin boost.
Temperature matters – cold liquids can enhance the texture. Always add liquids first to prevent powder from sticking at the bottom.
Powders And Supplements For Optimal Mixability
Here lies the secret to a clump-free shake: adding powders and supplements properly. Take these steps for a smooth blend:
- Measure Accurately: Use the scoop provided or a measuring spoon for consistency.
- Sieve Fine Powders: Prevent clumps from the start.
- Layer Wisely: Alternate between powder and ingredients to ensure even distribution.
Remember, some supplements mix better than others. Protein powders, green superfood blends, and pre-workout formulas are perfect for your Blender Bottle.
Mastering The Perfect Shake
Shakes are a delicious way to get your daily nutrition. But do you struggle with clumps in your protein shakes? It’s time to say goodbye to those and hello to smooth, delicious drinks. Let’s dive into the secrets of using a blender bottle like a pro. With these tips, you’ll be sipping on the perfect shake in no time.
Pro Techniques For A Lump-free Mix
Getting that perfect mix can be simple with these steps:
- Add liquids first. This prevents powder from sticking to the bottom.
- Measure your powder accurately. Use the scoop that comes with your powder.
- Insert the blender ball. Place the wire whisk into the bottle before shaking.
- Seal tightly and shake. Make sure the lid is secure then shake vigorously for 20-30 seconds.
- Let it sit. After shaking, wait a few seconds for the foam to settle.
For extra smooth shakes, consider these additional tips:
| Tip | Description |
|---|---|
| Use a Blender | For a finer mix, blend for 10-20 seconds. |
| Screen the Lumps | If any lumps remain, pour through a mesh strainer. |
Temperature Tips: Cold Shakes Vs. Room Temperature
Temperature can make a big difference in your shake experience. Let’s compare cold and room temperature shakes:
- Cold Shakes: they’re refreshing, especially post-workout. Cold liquids can help reduce lumps and enhance flavor. Always start with cold liquid or add ice after mixing for a chilled beverage.
- Room Temperature: easier to mix but not as refreshing. Powders dissolve quickly in room temperature liquids. This is ideal when you don’t have access to a fridge or cold water.
To maintain the right temperature, here’s what to remember:
- Insulated Bottles: keep drinks cold longer.
- Ice Packs: handy if refrigeration isn’t available.
- Pre-Chill: store liquids in the fridge before mixing.
Remember, the key is your preference. Enjoy your shakes the way you love them!
Creative Blends For Every Fitness Goal
Blender bottles make achieving fitness goals tasty and fun. Crafting the perfect blend is easy. Choose ingredients that match your goals. The right recipes fuel your body. Let’s dive into some delicious blender bottle recipes.
Recipes for Muscle GainRecipes For Muscle Gain
Building muscles requires protein-rich shakes. These shakes support recovery and growth. Check out these robust recipes:
- Chocolate Peanut Butter Power: Combine 1 scoop chocolate protein powder, 1 tablespoon peanut butter, and 1 cup almond milk.
- Banana Berry Blast: Blend 1 scoop vanilla protein powder, half a banana, a handful of berries, and water.
- Tropical Muscle Mix: Mix 1 scoop of whey protein, 1/4 cup pineapple chunks, and coconut water.
Low-calorie Mixes For Weight Loss
Slim down with these low-calorie shakes. They keep you full and energized. Try these light options:
- Refreshing Green Goddess: Shake together a handful of spinach, 1 scoop of protein powder, and water.
- Spicy Lemonade Flush: Mix lemon juice, a dash of cayenne pepper, a teaspoon of honey, and ice-cold water.
- Berry Almond Delight: Shake 1 cup of mixed berries, 1 tablespoon of almond butter, and water for a fruity treat.
Cleaning And Maintenance
Keeping your blender bottle in pristine condition is crucial for prolonging its life and ensuring that your drinks remain fresh and tasty. A clean blender bottle is also essential for hygiene and health. To help you maintain your bottle, we’ve laid out some simple cleaning steps and tips to prevent smells and stains.
Step-by-step Cleansing For Longevity
Careful cleaning preserves your blender bottle and keeps it looking new. Follow these steps:
- Rinse immediately after use to avoid residue build-up.
- Fill the bottle with warm water and add a drop of dish soap.
- Secure the lid and shake vigorously to loosen any remnants.
- Use a bottle brush for a thorough scrub, reaching all corners.
- Rinse the bottle several times with clean water to remove soap.
- Air dry completely before storing to prevent mildew.
Preventing Odors And Stains
Following these preventive measures will keep your bottle fresh and free from odors and stains:
- Avoid leaving drinks in your bottle for extended periods.
- Use a mixture of baking soda and water for tough odors.
- For stains, soak in a mixture of white vinegar and water before cleaning.
- Dry your bottle in an inverted position to allow air flow.
- Store your bottle with the lid off to prevent mold growth.
Credit: soylent.com
Maximizing Your Blender Bottle Experience
Are you striving to make the most out of your Blender Bottle? Whether you’re a fitness enthusiast, a smoothie lover, or just enjoy the convenience, it’s time to level up your Blender Bottle game. Follow these tips for an upgraded experience!
Accessories To Enhance Your Blending
Unlock the full potential of your Blender Bottle with some clever additions. Find the perfect partners for your bottle:
- BlenderBall – Ensures smooth shakes every time.
- ProStak System – This adds storage for supplements and snacks.
- Insulated Sleeve – Keeps your drink cool for hours.
- Lid and Flip Cap – Upgrade for a new look and feel.
Blender Bottle Hacks Every User Should Know
Blender Bottle is not just for shakes. Transform your bottle with these hacks:
| Hack | Use |
|---|---|
| Pancake Batter | Shake up a smooth batter for quick pancakes. |
| Snack Container | Store nuts or trail mix for on-the-go energy. |
| Dressings and Sauces | Prep and pour fresh dressings with ease. |
| Omelet Maker | Shake eggs and pour directly into the pan. |
Credit: www.blenderbottle.com
Frequently Asked Questions For How To Use A Blender Bottle
Can Blender Bottles Puree Fruits And Vegetables?
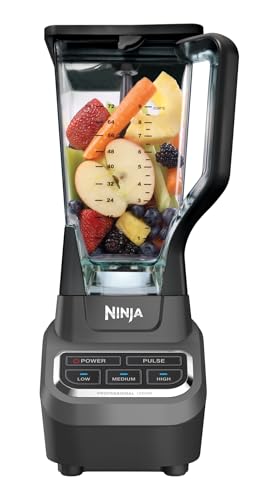
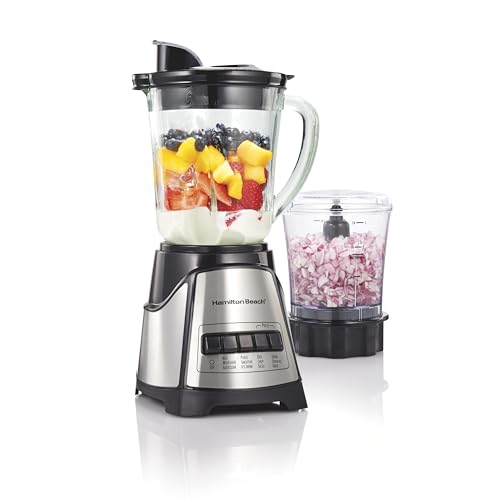
Blender Bottles are not designed for pureeing. They’re meant for mixing powder-based supplements into liquids without the need for an electrical blender. For pureeing fruits and vegetables, using a traditional electric blender is recommended.
How To Clean A Blender Bottle Properly?
To clean a Blender Bottle, first rinse it with warm water. Then, add a drop of dish soap, fill it halfway with water, and shake vigorously. For a deeper clean, use a bottle brush, then rinse thoroughly and air dry.
What Makes Blender Bottles Leakproof?
Blender Bottles are engineered with a screw-on lid and a flip cap that snaps securely shut. This design ensures a tight seal, preventing leaks when you shake or carry the bottle. Always make sure the lid is screwed on tightly before use.
Is It Safe To Put Hot Liquids In Blender Bottles?
Most Blender Bottles are not designed for hot liquids and can warp or leak if exposed to high temperatures. It’s best to use them for cold or room temperature beverages to ensure safety and maintain the integrity of the bottle.
Conclusion
Mastering the use of a blender bottle is simple and incredibly practical. With a quick shake, you can mix proteins, supplements, and smoothies on the go. Embrace the ease and convenience it adds to your daily routine. So, shake up your nutrition game—your health journey just got a boost with this handy tool!
