How to Make Shaved Ice With a Blender: Quick & Easy!
To make shaved ice in a blender, fill it with ice cubes and pulse until fluffy. Choose a blender with a strong motor for finer results.
Creating the perfect, frosty treat at home is both refreshing and fun. Shaved ice—the quintessential summer delight, often found at beach stands and festivals—can now be enjoyed anytime with ease. With a blender, this icy indulgence is just minutes away, promising to bring that cool, snow-like texture right to your kitchen.
Whether for a fruit-flavored dessert or as a base for sweet, syrupy delights, mastering the art of making shaved ice is a skill that will elevate your summer treats. Just grab some ice from the freezer and let your blender do the heavy lifting for a homemade version of this classic refreshment.

Credit: www.amazon.com
Gathering Your Supplies
Ready to turn your kitchen into a mini shaved ice shack? The first step is gathering your supplies. Crafting the perfect shaved ice at home is easy with the right tools. This guide will navigate you through every essential item you need. So let’s get started and make sure that nothing stops you from enjoying that frosty treat!
Essentials For Shaved Ice
Before we dive into the art of shaving ice, ensure you have all the essentials:
- Ice: Fresh, clean water frozen into cubes or blocks.
- Syrups: Your favorite flavors to drizzle over the ice.
- Sweetened condensed milk: For a creamy topping. (Optional)
- Cups or bowls: To hold your shaved ice creation.
- Spoons or straws: For easy enjoying.
- Napkins: To keep hands clean and sticky-free.
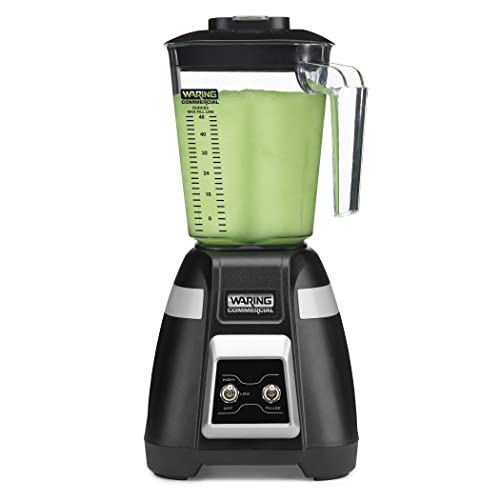
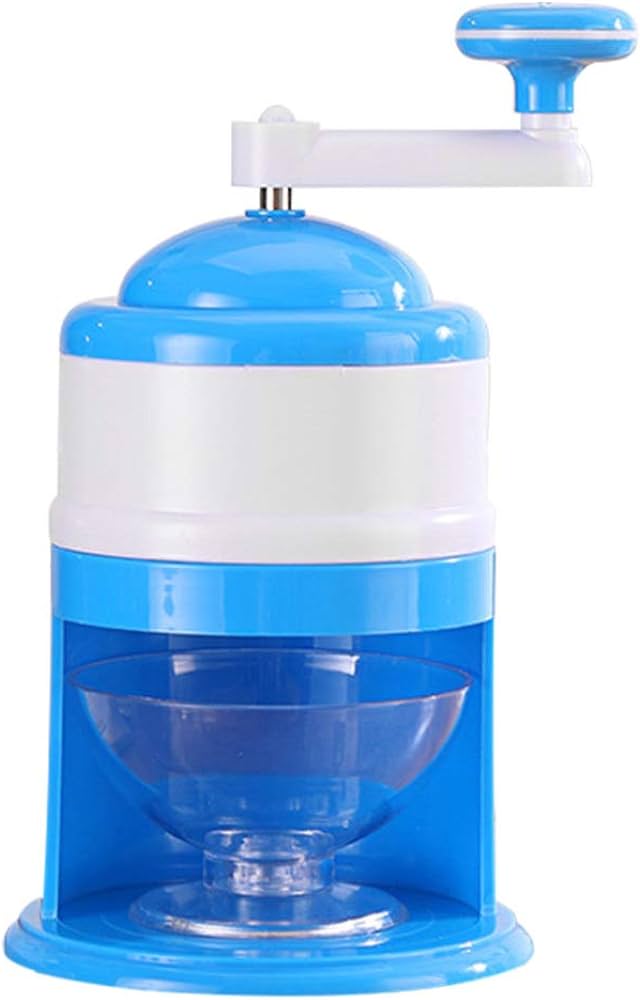
Choosing The Right Blender
Selecting a suitable blender is crucial for achieving that snow-like texture:
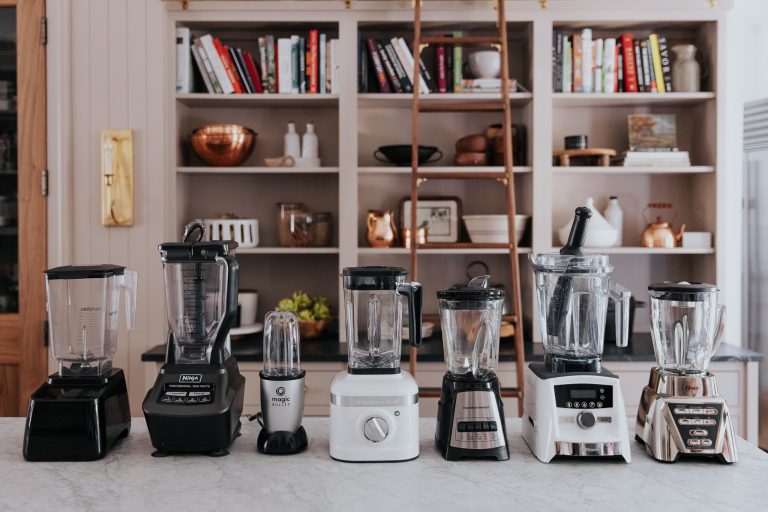
| Blender Type | Pros | Cons |
|---|---|---|
| Standard Blender | Accessible and affordable | May struggle with ice |
| High-Powered Blender | Crushes ice with ease | More expensive |
Ensure the blender’s blades are sharp and the motor is strong. A high-wattage motor can handle ice without a struggle. Look for blenders with ice-crushing features for best results. Remember, a good blender equals fine, fluffy shaved ice!
Prepping The Ice
Starting with the right type of ice is key to making perfect shaved ice. Let’s explore how to prepare your ice so that it’s ready to transform into a fluffy, melt-in-your-mouth treat in your blender. Keep ice consistency and freezing techniques in mind for the best results.
Optimal Freezing Techniques
Freezing ice properly makes all the difference. Use distilled water for clarity and taste. Pour into clean ice trays or molds. Leave space for expansion to avoid cracks. For evenly frozen blocks, ensure your freezer is set to 0°F (-18°C). Leave them to freeze solid, typically 4-6 hours.
- Use distilled water: It makes clearer ice.
- Tray spacing: This prevents ice from sticking together.
- Temperature check: Ensure your freezer is cold enough.
- Freeze time: Give ice enough time to set.
Achieving The Perfect Ice Consistency
The goal is to have ice that’s not too hard or too soft. Once frozen, let the ice sit at room temperature for about five minutes before blending. This step is crucial – it ensures the blades can shave the ice without strain. Remember, the consistency you’re aiming for is snowy, not slushy.
| Consistency | Room Temperature Time | Result |
|---|---|---|
| Hard Ice | 2-3 minutes | Difficult to blend |
| Perfect Ice | 5 minutes | Easy to shave |
| Soft Ice | 10+ minutes | Turns slushy |
Blending Techniques
Creating the perfect shaved ice at home can be simple with the right blending techniques. Let’s explore how to transform ice cubes into fluffy, snow-like ice using your kitchen blender. Follow these easy strategies for the best results.
Pulse Or Hold: Blending Strategies
Mastering your blender’s settings is key to achieving the desired consistency. You might wonder, should you pulse or hold? Let’s break it down:
- Pulse: Use short bursts to chip away at the ice. This method prevents the blades from heating up, which can melt the ice.
- Hold: Holding down the blend button might be faster, but it requires careful attention. Stop every few seconds to check the texture.
Switch between pulsing and holding to create a uniform texture without overworking your blender.
Avoiding Over-blending
Ice goes from perfectly shaved to slushy quicker than you might think. To avoid this:
- Blend in short intervals. Stop and check the consistency often.
- Remove any large chunks and give them a separate pulse if needed.
- Use frozen solid ice cubes to reduce the risk of over-blending.
- Work in small batches for more control over the texture.
Following these steps will help you maintain the ideal fluffy texture that makes shaved ice so delightful.
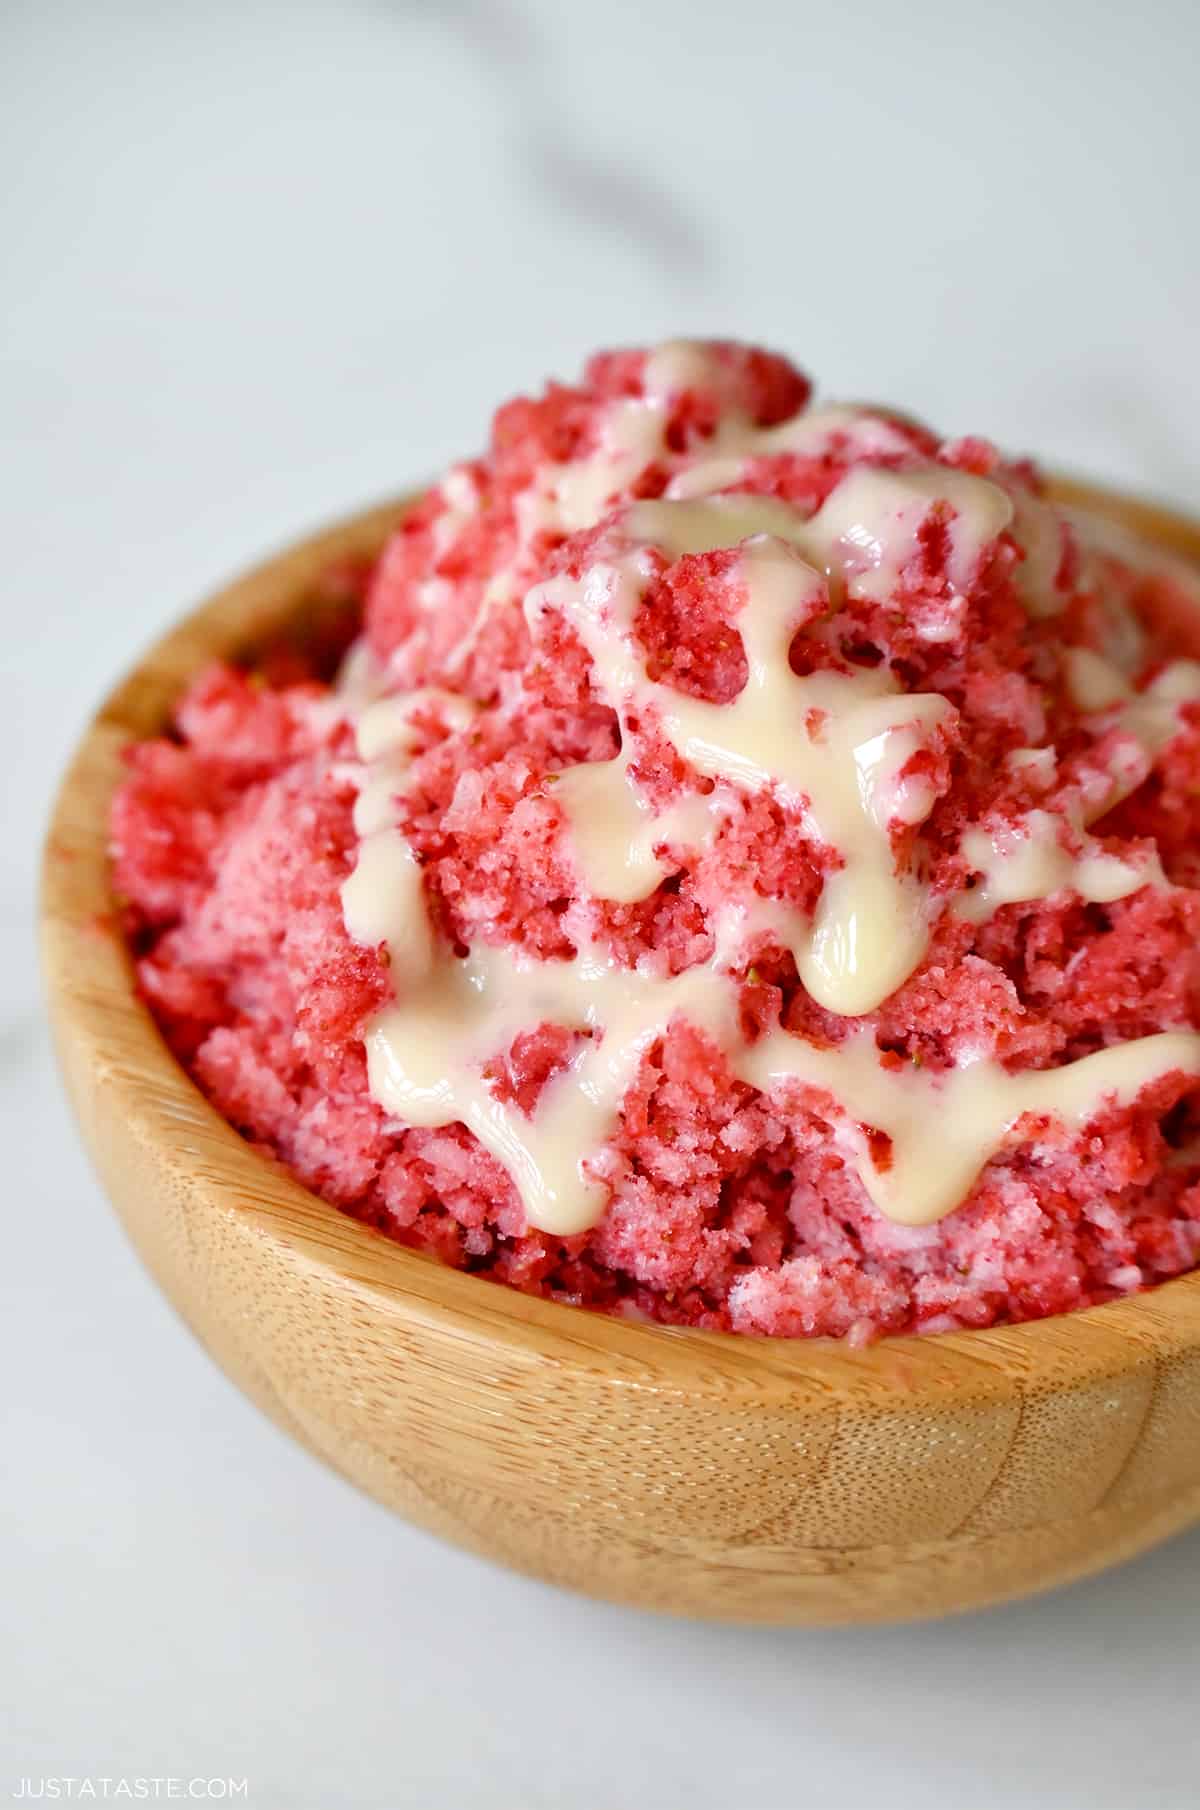
Credit: www.justataste.com
Flavoring Your Shaved Ice
Creating the perfect shaved ice is all about the flavor. Once you have your fluffy, snow-like base ready, it’s time to add some delicious syrups or natural flavorings. Whether you enjoy classic tastes or you’re adventurous with your palate, the possibilities are endless. Let’s explore how you can elevate your shaved ice with delightful homemade syrups and natural flavor alternatives.
Homemade Syrups
Homemade syrups are easy to prepare and allow full control over ingredients. Simple, customizable, and without preservatives; they are a great choice.
| Ingredient | Quantity | Instructions |
|---|---|---|
| Sugar | 1 cup | Combine with water in a saucepan |
| Water | 1 cup | Heat until sugar dissolves |
| Flavoring (e.g., vanilla extract) | To taste | Add and simmer. Cool before use |
After cooling, pour your syrup over the ice. Adjust the flavors to suit your taste preferences.
Natural Flavor Alternatives
For those seeking healthier options, natural flavors are fantastic. They bring the taste of real fruits, spices, and herbs to your icy treat.
- Fruit Puree – Blend fresh fruits for a rich, authentic taste.
- Honey – A sweet, natural syrup substitute.
- Lemon Juice – Adds a fresh, tangy kick to your ice.
- Mint – Crushed leaves create a refreshing twist.
Combine these ingredients in your blender for a smooth consistency. Drizzle over the ice to add a fresh, zesty dimension.
Serving Suggestions
Transforming your homemade shaved ice into an impressive delight requires more than just flavor. It’s all about the creativity in presentation and the perfect pairing with food and drinks. Dive into these tips to elevate your chilly treat.
Creative Presentation Tips
Unleash your inner artist with these presentation tips that are sure to wow:
- Colorful Bowls: Serve in vibrant dishes.
- Edible Garnishes: Top with fresh fruit slices or mint.
- Glass Jars: For a rustic feel, use mason jars.
- Themed Decor: Match the setup to the occasion.
- Ice Molds: Shape shaved ice with unique molds.
Pairing With Foods And Drinks
Complement your shaved ice with these sweet and savory options:
| Type | Pairing Ideas |
|---|---|
| Sweet | Cookies, Candy Bars, Sweet Yogurt |
| Savory | Nuts, Pretzels, Cheese Cubes |
| Drinks | Lemonade, Iced Tea, Sparkling Water |
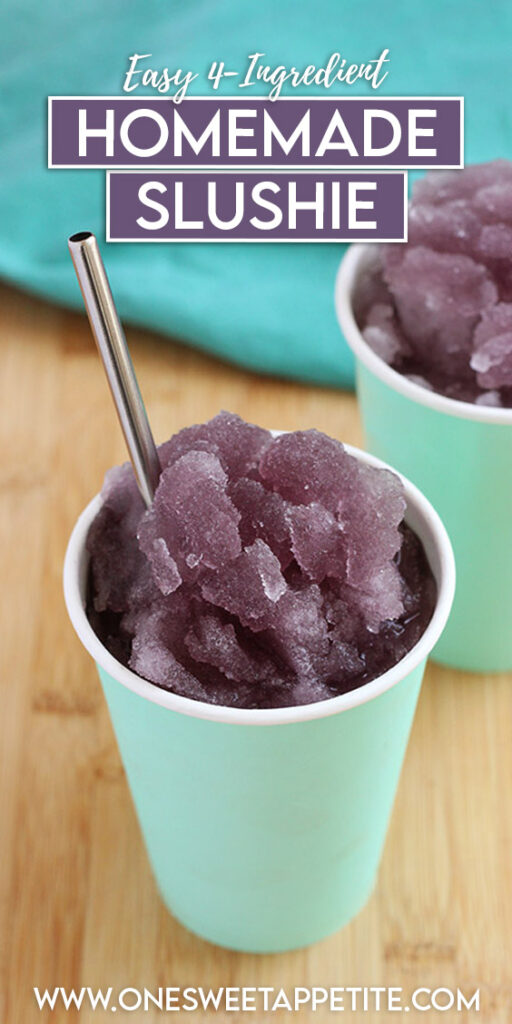
Credit: onesweetappetite.com
Cleaning And Maintenance
Cleaning your blender after making shaved ice ensures it stays fresh and efficient. Proper maintenance not only keeps it sparkling but also extends its lifespan. A well-cared-for blender performs better, helping you create perfect shaved ice every time. Follow these simple yet effective tips to keep your blender in top condition.
After-use Blender Care
Immediate cleaning prevents stubborn stains and odors. Start by rinsing the blender with warm water to remove leftover ice particles. Next, add a drop of dish soap and fill the blender halfway with warm water. Run the blender for 30 seconds. Pour out the soapy water and rinse thoroughly. For tough spots, use a soft-bristled brush.
Dry the blender with a soft cloth to avoid water spots. Keep lids and blades separate for better air circulation. This prevents mold and keeps the parts odor-free.
Extending The Life Of Your Blender
- Avoid overfilling the blender when making shaved ice. This reduces stress on the motor.
- Use ice cubes that are suitable for your blender’s strength and blade design.
- Periodically sharpen the blades to ensure they cut through ice effortlessly. Dull blades work harder which can burn out the motor.
- Prompt blade and gasket replacement prevents leaks and extends your blender’s life.
- Store your blender in a dry place away from direct sunlight and heat sources.
- Check for wear and tear regularly. Catching issues early can save costly repairs.
| Part | Care Tips |
|---|---|
| Blades | Sharpen regularly, check for wear |
| Gasket | Replace if cracked or worn |
| Motor | Avoid overfilling, use correct ice size |
| Container | Clean after each use, dry thoroughly |
Care for your blender and it will repay you with many sessions of perfect shaved ice. Enjoy delicious treats while ensuring your appliance lasts for years to come. Blender maintenance is as easy as ABC if you follow these steps.
Frequently Asked Questions For How To Make Shaved Ice With A Blender
Can You Make Shaved Ice With A Blender?
Yes, you can make shaved ice with a blender. Ensure your blender is powerful enough to crush ice without damaging its blades. Use short pulses to gradually turn ice cubes into fine, snow-like ice suitable for shaved ice treats.
What’s The Best Ice For Shaved Ice?
The best ice for shaved ice is clear, hard, and dry ice cubes or blocks. These types are denser and will create fluffier, snow-like shaved ice. They also melt slower, giving a better texture and cooling effect.
How Do You Flavor Shaved Ice At Home?
Flavoring shaved ice at home is simple. Drizzle your desired syrup over the freshly shaved ice. Homemade syrups can be made with sugar, water, and your choice of flavor extracts or fruit juices boiled and cooled before use.
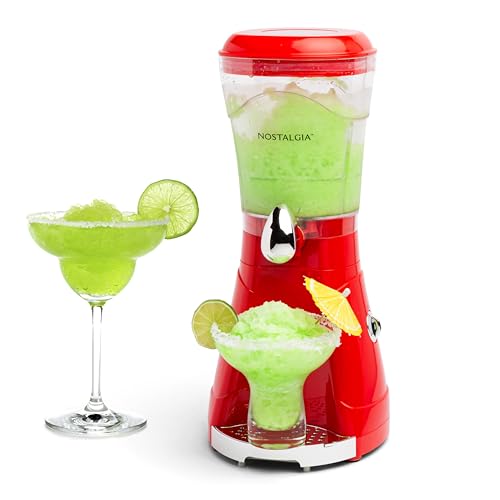
Are Blenders And Shaved Ice Machines The Same?
No, blenders and shaved ice machines are not the same. Blenders are versatile kitchen appliances for blending various ingredients. Shaved ice machines are specifically designed to produce finely shaved ice with a more consistent texture.
Conclusion
Creating shaved ice at home is truly a breeze with your trusty blender. You’ve now got the steps to cool down any day with this frosty treat. Remember, the key is in the ice texture—so keep experimenting until it’s perfect.
Enjoy your homemade shaved ice and stay refreshed!