
How To Clean A Blender Properly: Quick & Sparkling Results!
To clean a blender properly, first rinse the container, then fill it with warm water and a drop of dish soap. Blend the soapy water for a few moments, pour it out, and rinse again.
Keeping your blender sparkling clean not only maintains hygiene but also extends the life of this essential kitchen device. A dirty blender can become a breeding ground for bacteria and unpleasing odors. Regular cleaning after each use ensures that your smoothies, soups, and sauces always taste fresh and are safe for consumption.
Whether you’re a fitness enthusiast who relies on protein shakes or a home cook who enjoys experimenting with purees and pastes, knowing the right way to clean your blender is crucial. It’s a simple process that takes just minutes but makes all the difference in the quality and longevity of your blender.
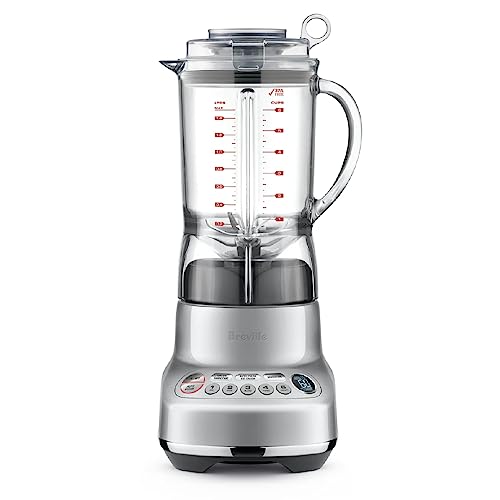
Credit: www.thefreshgrocer.com
Safety First
Cleaning a blender seems simple, but safety is key. A mishap could lead to injuries. Keep safety tips in mind.
Unplug The Blender
Always unplug the blender before cleaning. This prevents accidents. Keep the plug away from water to avoid shocks.
Gather Necessary Cleaning Supplies
Gathering the right supplies is the first step toward easy cleanup.
- Dish soap
- Warm water
- Cleaning brush or sponge
- Dry towel or cloth
Use these items to ensure a thorough clean. Start by adding water and soap to the blender. Turn it on for a quick self-clean. Rinse well.
| Step | Action | Tools |
|---|---|---|
| 1 | Disconnect power | Hands |
| 2 | Mix soap and water | Blender |
| 3 | Clean with brush | Brush/Sponge |
| 4 | Rinse and dry | Cloth |
For stubborn stains, use the brush or sponge. Clean the jar, lid, and blades. Remember to handle blades with care. They’re sharp.
Finally, dry all parts with a towel. A dry blender is safe from mold and smells. Now, blend with confidence!

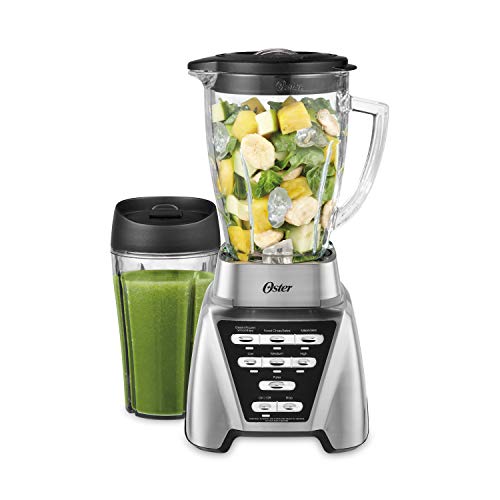
Credit: www.amazon.com
Disassembling The Blender
Cleaning a blender is essential for kitchen hygiene and functionality. Disassembling the blender first makes cleaning easy and thorough. Parts should come apart with little effort. Follow manufacturer guidelines to avoid damage. Proper disassembly ensures every nook is reachable during cleaning.
Removal Of Removable Parts
Start with the easy-to-remove parts. These usually include the lid, the jug or container, and often a sealing gasket. Many blenders also have a detachable blade base. Place each part on a clean surface as you prepare to wash them. Remember to:
- Twist the container off the motor base.
- Pop the lid and gasket off gently.
- Unscrew the blade assembly if possible.
Handling Blades With Care
The blades are sharp and require careful handling. Always hold the blades from the sides to prevent cuts. If your blender’s blades are removable, unscrew them carefully and place them on a towel. Some tips include:
- Use a thick cloth to grip the blades.
- Turn the blade assembly counter-clockwise to loosen.
- Place blades in a safe place away from reach of children.
The Soaking Method
The Soaking Method is a simple, effective way to clean a blender. Stubborn residue and odors fade away without harsh scrubbing. This cleaning strategy saves time and preserves your blender’s sharpness for longevity.
Warm Water And Soap Solution
Start by filling the blender with warm water. Add a drop of mild dish soap to create a gentle cleaning solution. Click the lid securely in place. Run your blender on low for 10 seconds. This action loosens residue from the blades and interior surface. Turn it off and proceed to the next step.
Soak Time For Different Components
| Component | Soak Time |
|---|---|
| Jar | 15-30 minutes |
| Blades | 10 minutes |
| Lid & Seal | 15 minutes |
After blending the water and soap mixture, unplug the blender. Pour the solution into a basin. Disassemble the blender carefully. Put the jar, blades, and lid into the basin. Use warm water for the soaking process. Ensure that the components are fully submerged. Long soaks can help lessen the work needed for cleanup. Rinse each piece under running water and dry thoroughly before reassembling your blender.
Scrubbing And Washing
Now, let’s talk about scrubbing and washing your blender. Getting your blender thoroughly clean is key to its maintenance and performance. You will need the right tools and techniques to tackle food residue and grime effectively.
Soft Brushes Vs. Sponges
Choosing the proper tool is essential for cleaning your blender. Soft brushes can reach into crevices without scratching the surface. On the other hand, sponges provide a larger cleaning area for quick wipe-downs.
- Soft Brushes – Ideal for tight spaces and gentle on your blender’s blades and jar.
- Sponges – Best for broader surfaces and can absorb soap for a foamier clean.
Cleaning Hard-to-reach Spots
Some blender parts can be tricky to clean, but with the right approach, no spot is out of reach.
- Fill the blender halfway with warm water and a drop of dish soap.
- Turn on the blender for a quick pulse to loosen debris.
- Use a soft brush to scrub under the blades and around the gasket.
- Rinse thoroughly with clean water to remove any soap residue.
Remember, a clean blender is a happy blender, and it’s ready to whip up your next smoothie or sauce in no time!
Rinsing And Drying
Cleaning a blender is not just about removing leftover food but also ensuring it dries properly to prevent mold growth and unpleasant odors. Let’s dive into the best practices for rinsing and drying your blender.
Thorough Rinsing
Begin the rinsing process by disassembling your blender. Detach the base, remove the blade, and take apart any other removable parts.
- Flush the jar with warm water to remove loose particles.
- Soak any sticky residue in warm, soapy water.
- Scrub the blade and gasket with a bottle brush.
- Rinse each part under running water until the water runs clear.
Proper Air-drying Techniques
After rinsing, air-drying is crucial to prevent moisture buildup.
- Shake off excess water from the parts.
- Lay out a clean dish towel.
- Place the parts on the towel, ensuring they don’t touch each other.
- Leave the components to air-dry completely, preferably overnight.
For faster drying, place the parts in an area with good air circulation or use a fan to speed up the process.
Reassembling And Storage
Congratulations on thoroughly cleaning your blender.
Now, let’s focus on reassembly and storage.
Proper steps ensure the blender’s longevity and readiness for next use.
Ensuring All Parts Are Dry
Before reassembling, check that each component is completely dry.
- Avoid water spots and mineral build-up.
- Use a clean, dry cloth or a drying rack.
Storing The Blender For Future Use
Proper storage is crucial for maintaining your blender.
- Reassemble the blender parts.
- Ensure the base is clean and dry.
- Place the blender on a dry, flat surface.
- Store the cord neatly wrapped or tucked away.
- Keep out of reach of children.
Maintaining Blender Cleanliness
Maintaining your blender’s cleanliness is crucial for its performance and longevity. A clean blender ensures safe, healthy food preparation, and prevents residue build-up. Follow these steps to keep your blender in top-notch condition.
Regular Cleaning Schedule
Set a routine to clean your blender after each use.
- Rinse immediately: Use warm water to clear out leftovers.
- Soap and water: Add a drop of dish soap and blend with warm water.
- Rinse thoroughly: Eliminate all soap suds.
- Air-dry: Disassemble parts and let them air-dry completely.
For deep cleaning, mix baking soda and water. Run the blender. Rinse well. This removes stubborn stains and odors.
Preventing Mold And Odor Build-up
Prevent mold and odor with these tips:
- Store correctly: Keep the blender dry and assemble when all parts are dry.
- Use vinegar: Blend vinegar and water monthly to kill germs and odors.
- Check gaskets: Replace rubber gaskets as they can trap food particles.
- Consider lemon: Blend a lemon to freshen and sanitize the blender.
By adopting these habits, your blender will stay clean, odor-free, and ready for your next nutritious blend!
Common Cleaning Mistakes
Cleaning a blender is simple, but mistakes can damage it. Knowing what not to do saves your blender and your time. Let’s focus on the typical errors people make while cleaning their blenders, so your appliance stays in top shape.
Avoiding Abrasive Materials
Avoid using rough sponges or brushes to clean the blender. These materials can leave scratches on the jar and dull the blades. Instead, prefer soft sponges or cloths to keep your blender looking like new. If stuck-on food is a problem, soak the jar in warm, soapy water before cleaning.
Not To Use Excessive Water On Electrical Parts
Your blender’s motor is its heart. Keep water away from the motor base and control panel. Excess water can cause electrical issues or a complete breakdown. Wipe the base gently with a barely damp cloth, then immediately dry it. Always disconnect the blender before cleaning to ensure your safety.
Remember, treat your blender right, and it will mix up smoothies for years to come!
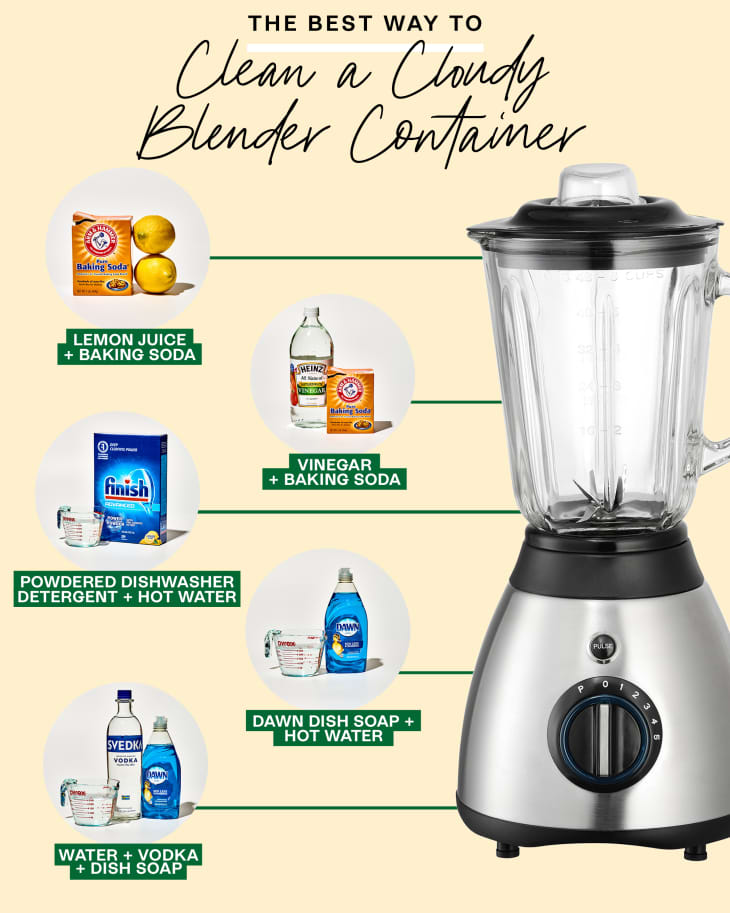
Credit: www.thekitchn.com
Frequently Asked Questions For How To Clean A Blender Properly
How Do You Deep Clean A Blender?
To deep clean a blender, first, disassemble it. Remove the base and blade carefully, and clean with warm soapy water. Use a brush for hard-to-reach crevices. Rinse thoroughly, reassemble, and run with water to flush any residue.
Can You Put Blender Parts In The Dishwasher?
Most blender parts, like the jug and lid, are dishwasher-safe. However, it’s essential to check the manufacturer’s instructions as the blade assembly may require hand washing. Place parts on the top rack to avoid melting or warping.
What Is The Fastest Way To Clean A Blender?
For a quick clean, fill the blender halfway with warm water and a drop of dish soap. Run it for a few seconds. Then, rinse out the soap, and allow it to dry. This method is effective for light cleaning after each use.
Are There Cleaning Solutions For Stubborn Blender Stains?
For stubborn stains, create a solution of baking soda and water, or use white vinegar and water. Let the solution soak in the blender for a few hours, then scrub gently with a soft brush or cloth. Rinse thoroughly afterward.
Conclusion
Cleaning your blender shouldn’t be a chore. With the right technique, it’s a breeze. Regular maintenance ensures longevity and performance. For a spotless blender every time, just follow the steps outlined. Embrace the ease of this simple routine and enjoy your creations, mess-free.