
How to Supercharge Your Kitchenaid Hand Blender: Top Charging Techniques!
To charge a Kitchenaid Hand Blender, simply plug in the charging cord and connect it to the blender’s charging port. Adjust the settings as needed and let it charge until fully powered.
The Kitchenaid Hand Blender is a versatile and convenient kitchen tool that allows you to blend, mix, and chop ingredients effortlessly. Its compact size and cordless design make it easy to use and store. However, to ensure that it is always ready for use, it is essential to know how to charge the Kitchenaid Hand Blender correctly.
We will provide a concise and straightforward guide on how to charge this handy appliance. Whether you are a seasoned chef or a beginner cook, understanding the charging process will ensure that your Kitchenaid Hand Blender is always ready to go when you need it. So, let’s delve into the details of charging the Kitchenaid Hand Blender and get you started on your culinary adventures.
Understanding Kitchenaid Hand Blender Batteries
Learn how to properly charge the batteries of your Kitchenaid Hand Blender to ensure optimal performance and longevity. Discover the step-by-step process for charging your blender and avoid common mistakes that could impact its battery life.
Understanding Kitchenaid Hand Blender Batteries Kitchenaid hand blenders are incredibly versatile and convenient tools that can make your food preparation tasks easier and more efficient. However, to ensure that your Kitchenaid hand blender is always ready to use whenever you need it, it’s crucial to understand how its batteries work and how to properly charge them. In this section, we will delve into the different types of batteries used in Kitchenaid hand blenders, as well as their battery life and charging time.Types Of Batteries Used In Kitchenaid Hand Blenders
Kitchenaid hand blenders typically come with rechargeable batteries that provide ample power for blending, whisking, and chopping. These batteries are designed to be long-lasting and durable, ensuring that your hand blender can withstand regular use in the kitchen. Here are the two main types of batteries used in Kitchenaid hand blenders:| Type | Description |
|---|---|
| Lithium-ion (Li-ion) Batteries | Lithium-ion batteries are known for their high energy density and long cycle life. They have a higher voltage and capacity compared to other battery types, allowing your Kitchenaid hand blender to deliver consistent blending performance for an extended period. Additionally, Li-ion batteries have a low self-discharge rate, which means that they can hold their charge even when not in use for a long time. |
| Nickel-Metal Hydride (NiMH) Batteries | Nickel-Metal Hydride batteries strike a balance between cost and performance. They offer a moderate energy density and can endure multiple charge cycles. NiMH batteries are a suitable option if you use your Kitchenaid hand blender occasionally or require a more budget-friendly battery option. |
Battery Life And Charging Time
When it comes to battery life, Kitchenaid hand blenders equipped with lithium-ion batteries have a clear advantage over those with nickel-metal hydride batteries. Li-ion batteries can usually last for several hours on a single charge, allowing you to complete multiple blending tasks without interruptions. On the other hand, NiMH batteries may have a shorter battery life, requiring more frequent recharging. The charging time for Kitchenaid hand blender batteries can vary depending on the model and battery type. As a general rule, it is recommended to fully charge the batteries before using the hand blender for the first time. This initial charging process may take a few hours, but subsequent charges should be quicker. It is essential to follow the manufacturer’s instructions for charging times to avoid overcharging or damaging the batteries. Moreover, it’s a good practice to fully deplete the battery’s charge before recharging it. This approach helps maintain the battery’s capacity and overall lifespan. However, some Kitchenaid hand blenders may have an automatic shut-off feature that prevents over-discharging the battery. In conclusion, understanding the batteries used in Kitchenaid hand blenders, their types, battery life, and charging time is crucial to ensure optimal performance and longevity. By following the recommended charging practices and using the appropriate battery type for your needs, you can enjoy the convenience of a fully charged Kitchenaid hand blender whenever you need it in your kitchen.
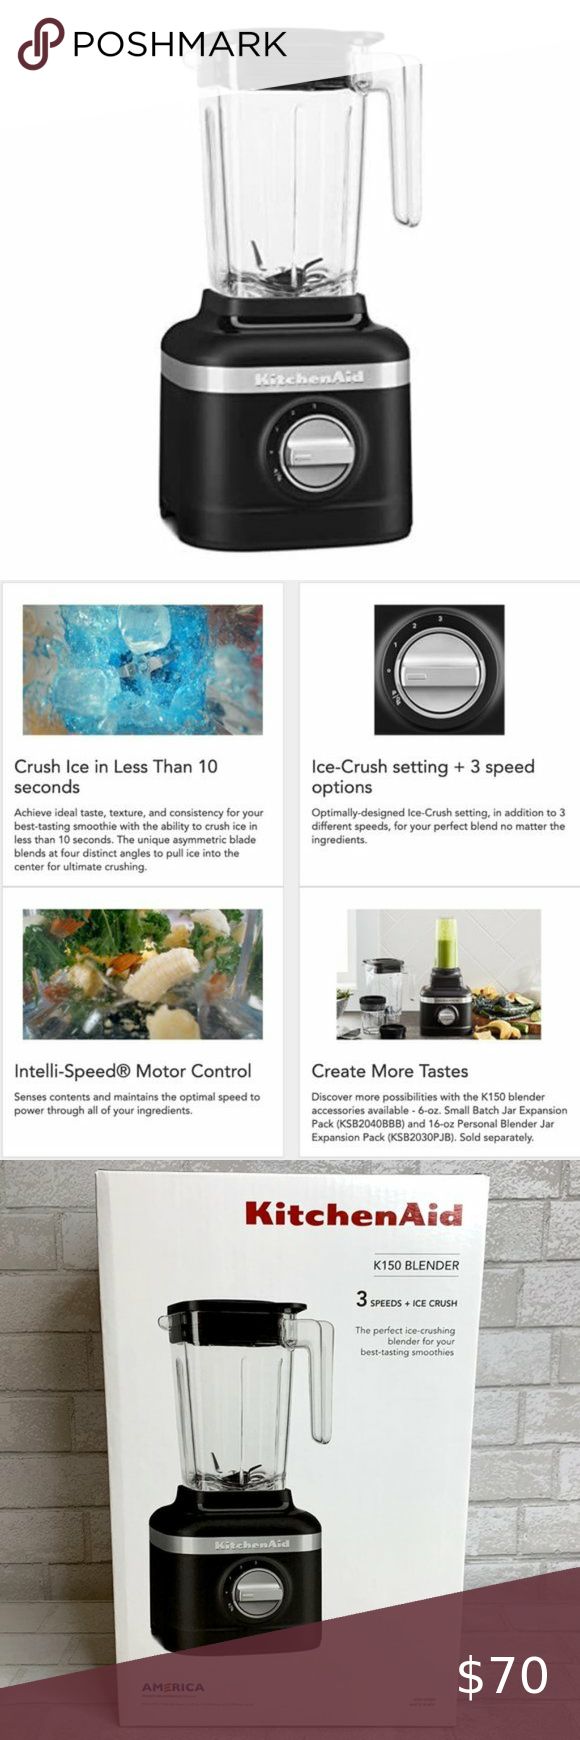
Credit: www.amazon.com
Top Charging Techniques For Your Kitchenaid Hand Blender
When it comes to charging your Kitchenaid Hand Blender, there are several techniques you can use to ensure that it is always ready to go when you need it most. From using the provided USB cable to utilizing a charging dock or a portable power bank, these charging methods will keep your hand blender powered up and ready to tackle any culinary task. In this article, we will explore each technique in detail, providing you with step-by-step instructions to charge your Kitchenaid Hand Blender effortlessly.
1. Charging With The Provided Usb Cable
If you prefer a straightforward charging method, using the provided USB cable is the way to go. Simply follow these steps to charge your Kitchenaid Hand Blender:
- First, locate the USB port on your hand blender.
- Connect one end of the USB cable to the USB port on your hand blender.
- Next, plug the other end of the USB cable into any USB power source, such as your laptop, wall adapter, or power bank.
- Ensure that the USB cable is securely connected to both your hand blender and the power source.
- Once connected, the charging indicator light on your hand blender will illuminate, indicating that it is charging.
- Allow your Kitchenaid Hand Blender to charge for the recommended amount of time specified in the user manual.
- Once fully charged, disconnect the USB cable from both your hand blender and the power source.
- Your Kitchenaid Hand Blender is now ready to use!
2. Utilizing A Charging Dock
An alternative method to charge your Kitchenaid Hand Blender is to utilize a charging dock. Follow these simple steps:
- Find a suitable location for your charging dock near an electrical outlet.
- Plug the charging dock into the electrical outlet.
- Place your Kitchenaid Hand Blender securely onto the charging dock, ensuring the metal contacts on the hand blender align with the charging dock.
- Once placed on the dock, the charging indicator light will illuminate, indicating that it is charging.
- Allow the hand blender to charge for the recommended amount of time specified in the user manual.
- Once fully charged, remove the hand blender from the charging dock.
- Your Kitchenaid Hand Blender is now fully charged and ready to be used for your culinary adventures!
3. Using A Portable Power Bank
If you’re always on the go and need a portable charging solution for your Kitchenaid Hand Blender, using a power bank is the perfect option. To charge your hand blender with a portable power bank, follow these steps:
- Make sure your portable power bank is fully charged.
- Locate the USB port on your power bank and the USB port on your hand blender.
- Connect one end of the USB cable to the USB port on your power bank.
- Connect the other end of the USB cable to the USB port on your hand blender.
- Ensure that the USB cable is securely connected to both your power bank and the hand blender.
- Once connected, the charging indicator light on your hand blender will illuminate, indicating that it is charging.
- Allow your Kitchenaid Hand Blender to charge for the recommended amount of time specified in the user manual.
- Once fully charged, disconnect the USB cable from both your hand blender and the power bank.
- Your Kitchenaid Hand Blender is now ready to accompany you on your culinary adventures, even when you’re on the go!
What Are Some Alternative Techniques to Supercharge My Kitchenaid Hand Blender?
Looking to supercharge your KitchenAid hand blender? Consider learning how to replace the easy KitchenAid blender coupler for improved performance. Another technique is to use the blender at the optimal speed for each task to maximize efficiency and blending power. Additionally, keeping the blades sharp can also enhance the blender’s performance.
Tips For Optimal Charging Performance
Proper charging is essential to ensure your Kitchenaid Hand Blender functions efficiently and lasts longer. By following these tips, you can optimize the charging performance of your blender and enjoy hassle-free blending experiences.
1. Keep The Battery Contacts Clean
The battery contacts of your Kitchenaid Hand Blender need to be kept clean for optimal charging performance. Dirty or corroded contacts can disrupt the flow of electricity and lead to a slower charging process.
To clean the battery contacts, you can follow these steps:
- Gently remove the blending attachment from the blender.
- Dampen a cloth or cotton swab with a small amount of rubbing alcohol.
- Gently scrub the battery contacts located on the bottom of the blender’s handle.
- Ensure that the contacts are dry before reattaching the blending attachment.
Maintaining clean battery contacts will help ensure a smooth and efficient charging process for your Kitchenaid Hand Blender.
2. Avoid Extreme Temperatures
Extreme temperatures can affect the battery life and overall charging performance of your Kitchenaid Hand Blender. When charging the blender, it is important to keep it in a temperature range of 50-90°F (10-32°C) for optimal results.
Exposure to excessive heat or extreme cold can damage the battery, reduce its efficiency, and affect the overall lifespan of your blender. Therefore, try to charge your Kitchenaid Hand Blender in a well-regulated room temperature environment.
3. Do Not Overcharge The Battery
Overcharging the battery can lead to reduced battery life and even cause damage to the battery cells. It is essential to unplug your Kitchenaid Hand Blender once it is fully charged.
Most Kitchenaid blenders come with a charging indicator light that turns solid or changes color when the battery is fully charged. Pay attention to this indicator and unplug the blender as soon as the charging is complete to avoid overcharging the battery.
4. Store The Blender Properly When Not In Use
When your Kitchenaid Hand Blender is not in use, storing it properly can help maintain its battery life and charging performance. Here are some tips for storing your blender:
- Remove the blending attachment from the handle to prevent accidental activation.
- Ensure that the blender is clean and dry before storing.
- Store the blender in a cool, dry place away from direct sunlight or excessive humidity.
- Avoid storing the blender in extreme temperatures, such as in a hot car or a freezing garage.
Following these storage tips will help preserve the battery life and charging performance of your Kitchenaid Hand Blender.
Credit: www.epicurious.com
Credit: www.epicurious.com
Frequently Asked Questions On How To Charge Kitchenaid Hand Blender
Why Has My Kitchenaid Hand Blender Stopped Working?
There could be several reasons why your Kitchenaid hand blender has stopped working. It may be due to a faulty power cord or switch, a worn-out motor, or a broken blade. Check the power connection, replace any damaged parts, or contact the manufacturer for assistance.
How Long Does It Take To Charge A Kitchenaid Mixer?
It takes approximately 4 to 5 hours to fully charge a Kitchenaid mixer.
How Long Does It Take To Charge A Cordless Blender?
A cordless blender typically takes around 2-4 hours to fully charge, providing you with portable convenience for blending on the go.
Why Won T My Kitchenaid Blender Turn On?
Possible Answer: Check if the blender is properly plugged in and the power switch is on. Make sure the blender jar is securely placed on the base. If it still doesn’t turn on, the motor might be overheated. Wait for it to cool down or contact KitchenAid customer service for assistance.
Conclusion
To ensure that your Kitchenaid Hand Blender is always ready to use, it is essential to charge it properly. By following the steps outlined in this blog post, you can easily charge your blender and enjoy seamless blending without any disruptions.
Remember to use the charging cable and plug it into a power source for the recommended time. Charging your Kitchenaid Hand Blender is a simple process that guarantees optimal performance and longevity. So go ahead and charge up your blender to experience the convenience and versatility it brings to your kitchen!