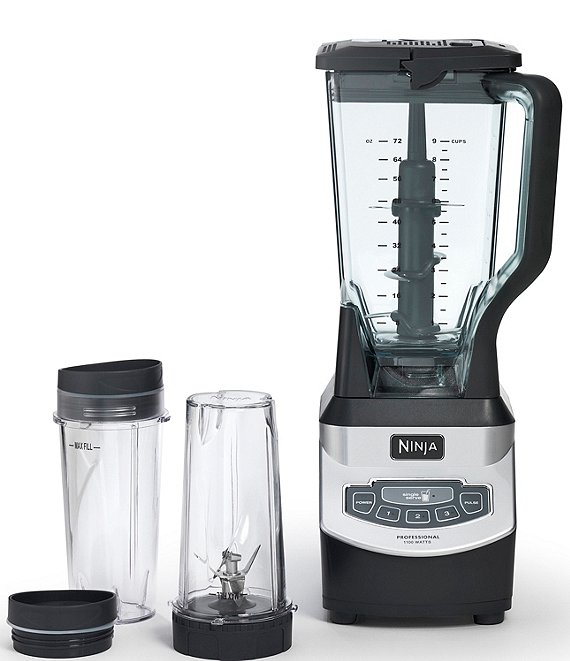

How to Clean a Ninja Blender: Quick & Sparkling Tips!
To clean a Ninja Blender, first unplug it and disassemble the pitcher, lid, and blade. Wash all components except the motor base by hand with warm soapy water or place them in the dishwasher if they are dishwasher-safe.
Ensuring your Ninja Blender is pristine and hygienic is crucial for both food safety and appliance longevity. Every use leaves behind remnants that can affect taste and blender performance. Tackling the cleaning process might seem daunting, but with the right techniques, it becomes a simple task.
A clean blender guarantees that your smoothies, soups, and sauces are always fresh and delicious. By maintaining your Ninja Blender, you not only preserve the flavors of your creations but also extend the life of your versatile kitchen aid. Let’s dive into the steps to keep your Ninja Blender in tip-top shape after every delicious concoction.
Assembling Necessary Cleaning Supplies
Before diving into the cleansing ritual of your beloved Ninja Blender, gathering the right arsenal of cleaning supplies is essential. This preparational step ensures that you’re fully equipped to tackle any mess left behind from your latest culinary creation. The goal is not just about making your blender sparkle, but also ensuring its longevity and optimal performance.
- Dish soap: A gentle, yet effective cleanser to break down food residue.
- Soft sponge or cloth: To wipe surfaces without scratching.
- Scrub brush or toothbrush: To get into the nooks and crannies of the blades and gasket.
- White vinegar or baking soda: For a deeper, natural cleanse, especially for tough stains and odors.
- Microfiber towel: Leaves a streak-free finish as you dry the parts.
- Rubber gloves (optional): To protect your hands from prolonged exposure to water.
Disassembling The Blender Components
Begin your cleaning process by powering off the blender and unplugging it from the electrical outlet. Gently twist and lift the pitcher off the base. Remove the blades and any other removable parts. This breakdown should be performed with care to prevent any accidental injury from the sharp blades.
Rinsing The Removable Parts
Once disassembled, promptly rinse each part with warm water to remove loose particles. Focusing on the pitcher, the lid, and the blade assembly, ensure that these parts are thoroughly rinsed, as clinging food particles can make the cleaning process more cumbersome and potentially lead to bacteria buildup.
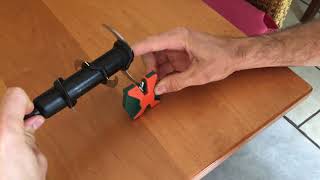
How To Clean The Blades
Keeping your Ninja blender in top condition means ensuring that its blades are sparkling clean after every use. Leftover food particles on blades can lead to dullness and smells. Clean blades aren’t just about maintaining performance; it’s about guaranteeing your blender’s longevity. Here’s how to tackle those sharp edges safely and effectively.
Using Dish Soap For Effective Cleaning
Banish build-up with dish soap. This go-to cleaning agent is perfect for the blades of your Ninja blender. Begin by disassembling the blades from the blender, if your model allows. Fill a container or your sink with warm water and add a few drops of dish soap. Submerge the blades and let them soak for a few minutes. Use a soft-bristle brush to gently scrub the blades, reaching every nook and cranny. Rinse thoroughly with water to remove all soap residue. Allow the blades to dry fully before reassembling your blender.
Ensuring Safety While Cleaning The Blades
Safety first! Always exercise caution when cleaning the sharp blades of your Ninja blender to prevent accidental cuts. It’s wise to wear cut-resistant gloves as you handle the blades. Never touch the blade’s edges directly. Instead, hold the base or use tools like brushes to avoid direct contact. After scrubbing with soap and water, take extra care when rinsing. Let the running water do the work, moving the blades gently to dislodge any debris. Once the cleaning is complete, place the blades on a towel or drying rack. Reassemble only when the parts are completely dry to avoid rust or damage.
Remember, a clean Ninja blender is a more efficient and safer appliance in your kitchen arsenal. A few minutes spent on cleaning the blades can extend the life of your beloved kitchen gadget and ensure it’s ready for your next culinary adventure!
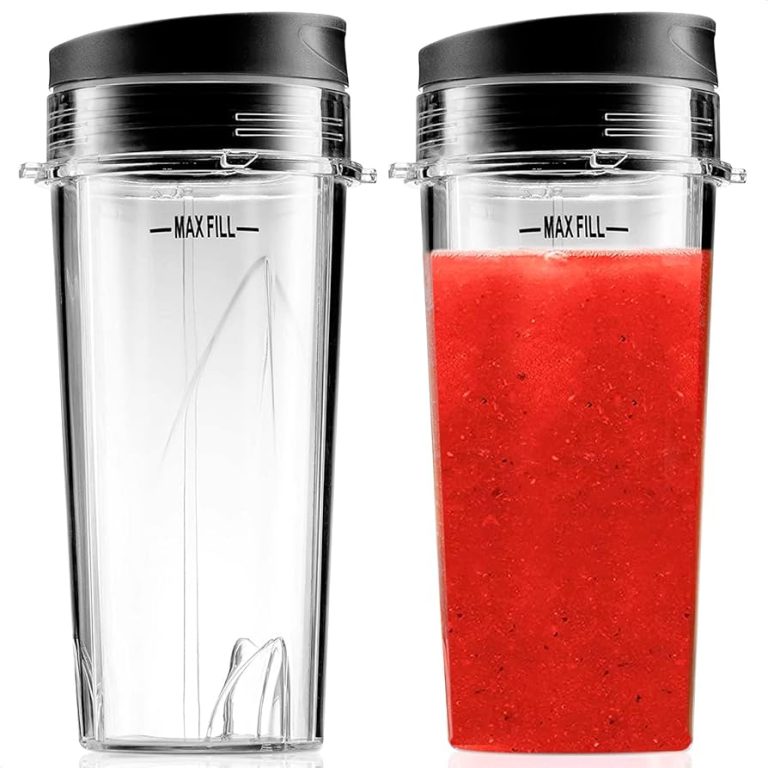
Cleaning The Jar And Lid
Maintaining the pristine condition of your Ninja blender involves regular cleaning of its integral parts: the jar and the lid. Food residue and lingering odors can affect the performance and hygiene of your appliance. A clean blender promises a fresh start for your next culinary adventure. This guide will walk you through the proper techniques for cleaning the jar and provide insights on caring for the lid’s seals, ensuring a thorough clean that will help extend the life of your Ninja blender.
Proper Techniques For Cleaning The Jar
Diligent care can keep the blender jar spotless and functioning efficiently. Follow these methods to ensure optimal cleanliness:
- Disassembly: Before cleaning, always unplug the blender. Carefully remove the blade assembly and any gaskets, if accessible, from the jar to prevent injury and allow for targeted cleaning.
- Soaking: Fill the jar with warm water and add a drop of dish soap. Let it soak to loosen any stubborn residue. For a deeper clean, blend the soapy water on a low setting for 30 seconds.
- Hand Washing: Use a non-abrasive sponge or brush to gently scrub the jar’s interior. Reach the bottom and sides thoroughly to avoid food build-up in crevices.
- Rinsing: After scrubbing, rinse the jar under running water to remove all soap traces. Ensure the soap is completely washed away, as residue can impact your blender’s performance.
- Drying: Invert the jar for air-drying on a dish rack. Prompt drying prevents water spots and bacteria growth.
For persistent stains or odors, a baking soda paste can be a good solution. Apply the paste inside the jar, let it sit for a few minutes, then rinse thoroughly.
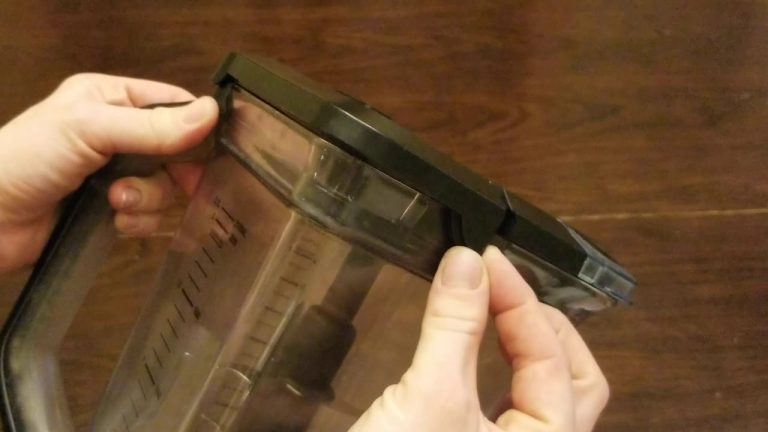
Paying Attention To The Blender Lid’s Seals
The lid’s seals are crucial for preventing leaks and ensuring safe operation. Proper maintenance is key:
- Inspection: Begin by inspecting the seals and gaskets for wear or damage. Replace them if you notice any cracks or degradation to maintain the blender’s integrity.
- Cleaning: Use a damp cloth to wipe around the seals. For a deeper clean, remove the seal if possible and use a small brush to dislodge any trapped particles.
- Drying: After cleaning, thoroughly dry the seals before reassembling the lid. Any moisture trapped in the seals can lead to mold or unpleasant odors.
Reassembly: Ensure the seals are positioned correctly when reattaching to prevent future leaks. A well-maintained seal contributes to the longevity and safety of your Ninja blender.
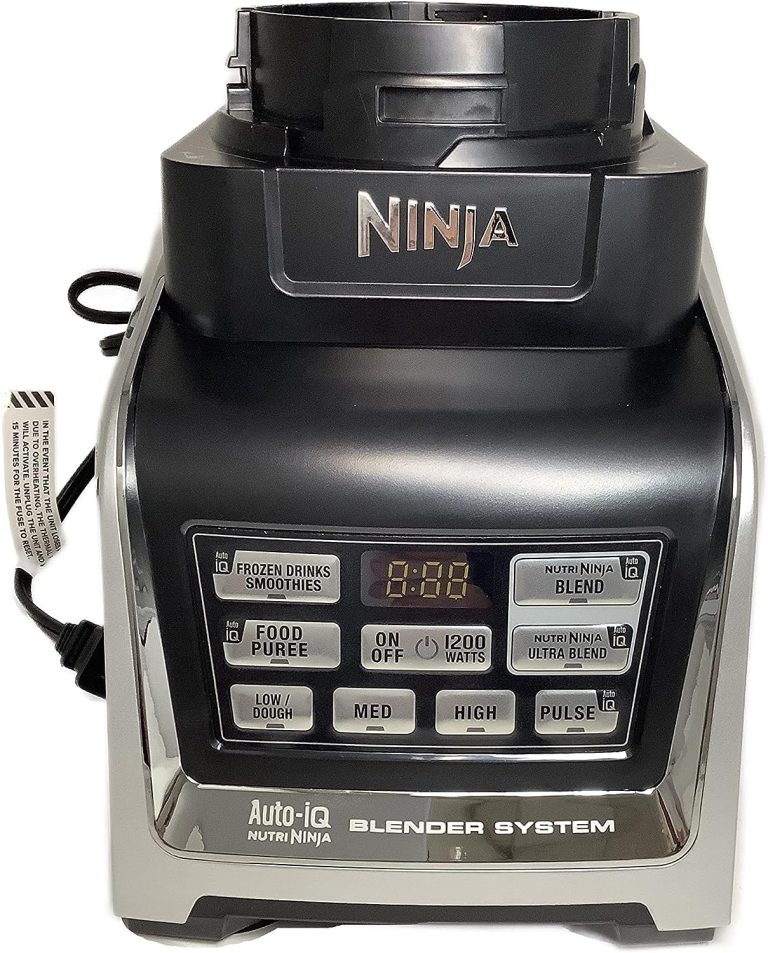
Cleaning The Base And Control Panel
Maintaining your Ninja Blender involves more than just taking care of the pitcher and blades; the base and control panel are equally important. Keeping these areas clean not only ensures your blender operates efficiently but also helps maintain a sleek and sanitary countertop companion. It’s critical to follow the correct cleaning methods to prevent damage to the blender’s electrical components and to ensure your safety.
Wiping The Base Clean
A dusty or sticky base can hinder your blender’s performance over time. To keep it in top condition, start by unplugging the blender. Use a damp cloth—preferably microfiber—to wipe down the exterior of the base. Avoid using overly wet cloths, as excess water can seep into the motor housing, posing risks. For stubborn stains, a mild detergent can help, but ensure to dilute it well and avoid harsh chemicals that could damage the surface.
Safely Cleaning The Control Panel
The control panel is your point of interaction with your Ninja Blender, so keeping it clean is essential for seamless operation. Due to its electrical nature, extreme care must be taken. Always use a soft, slightly damp cloth to gently wipe the panel. Avoid spraying any cleaner directly onto the control panel. Instead, apply a small amount of cleaner onto the cloth if needed. Dry immediately with another cloth to prevent moisture from affecting the panel’s electronics.
How To Clean The Power Pod
Cleaning your Ninja Blender isn’t just about keeping it looking good; it’s also about maintaining performance and ensuring your blended concoctions are healthy and delicious every time. A particular component that requires your attention is the Power Pod. This essential part of the Ninja Blender houses the motor, and while it won’t be dunked in sudsy water, it needs regular care to keep your blender running smoothly. Let’s dive into the safest and most effective ways to clean the Power Pod.
Recommended Cleaning Techniques For The Power Pod
Maintaining the Power Pod of your Ninja Blender doesn’t require elaborate tools or an excessive amount of time. Follow these steps and recommended techniques:
- Unplug the unit to ensure safety before cleaning.
- Wipe the exterior with a soft, damp cloth to remove food residue and splatters.
- Avoid submerging the Power Pod in water or rinsing under the tap. Instead, use a slightly dampened cloth or sponge.
- For tough stains, use a mild detergent on the cloth, but ensure it’s well wrung out to prevent water seepage.
- Immediately dry the Power Pod with another soft, dry cloth.
- Never use abrasive cleaners or scouring pads, as these can damage the unit’s surface.
For routine upkeep, performing this simple wipe-down once a week should keep your Power Pod in top shape.
Addressing Safety Concerns
Handling electrical components always entails a certain degree of risk, but you can mitigate these with proper care:
- Unplugging the device before cleaning ensures that you’re not at risk for electrical shock.
- Keep liquids away from the electrical components and openings. Moisture entering the motor can create hazards and impair functionality.
- If the Power Pod requires more than a wipe-down due to a malfunction or spill, contact Ninja customer support for guidance before attempting any deep cleaning.
- Regularly inspect your Power Pod for wear and tear. Promptly address issues like frayed cords or cracked casing to prevent hazards.
Cleaning your Ninja Blender’s Power Pod is quick and easy, keeping your kitchen safe and your blends fresh. Remember, proper maintenance is key to longevity and performance.
Proper Drying Techniques
Congratulations on cleaning your Ninja Blender! Now that it sparkles, let’s make sure it dries optimally to prevent water spots and maintain its pristine condition. The following methods will guide you through the drying process effectively.
Air Drying MethodsAir Drying Methods
The simplest way to dry your Ninja Blender parts after a thorough clean is through air drying. Exposing the components to air naturally evaporates moisture without extra effort. Here’s how to do it correctly:
- Disassemble all removable parts and shake off excess water.
- Place the parts on a clean drying rack with ample space between them.
- Position the rack in a well-ventilated area to speed up the drying process.
- Leave the parts to air dry completely before reassembling the blender to prevent mold or odor buildup.
Towel Drying Techniques
If you prefer a quicker method or live in a humid environment where air drying is not as effective, towel drying is your go-to option. Follow these steps to prevent moisture from lingering:
- Choose a clean, dry microfiber towel for its superior absorbency and non-abrasive nature.
- Gently pat down each component to soak up the initial water droplets.
- Wrap the towel around the blades and handle with care to avoid injury and ensure thorough drying.
- Inspect every crevice and under the gasket seal, as these areas can harbor moisture and bacteria.
Remember, the goal is to avoid moisture buildup, which can damage the blender over time. Use these drying techniques to maintain your Ninja Blender in top-notch condition, ready for your next culinary adventure.
Reassembling The Blender
After meticulously cleaning your Ninja blender, ensuring every food particle is washed away, the task at hand is reassembling the blender. This is a critical step to return your appliance to optimal functionality and ensure safety during its next operation. Follow this detailed guide to properly reassemble your Ninja blender, ensuring you can jump back into creating delicious smoothies and meals with confidence.
Ensuring All Components Are Dry
The importance of drying all components before reassembling your Ninja blender cannot be overstated. Moisture can not only affect the blender’s performance but also become a breeding ground for bacteria. Follow these simple steps:
- Lay out all washed components on a clean, dry towel.
- Allow them to air-dry completely, or manually dry each part with a separate cloth.
- Pay special attention to the blade assembly and gasket ring, as these areas can trap water.
- Ensure the motor base is free from water to prevent any electrical hazards.
Assembling The Blender Correctly
With all the components dry, assembling the blender correctly is vital for the functionality and longevity of your Ninja blender. Incorrect assembly may lead to leaks, damage, or the blender failing to start. Follow this procedure:
- Start by placing the gasket ring back into the blade assembly.
- Align the blade assembly with the pitcher’s base, ensuring it sits evenly.
- Secure the base tightly to avoid any leaks while blending.
- Place the pitcher on the motor base, making sure it locks into place properly.
- Finally, attach the lid by aligning it with the pitcher and pressing down until it snaps into place securely.
Always refer to your Ninja blender’s user manual for specific instructions related to your model. Verifying the correct setup will prevent any future mishaps and keep your blender running efficiently.

Credit: www.dailymail.co.uk
Regular Cleaning Frequency
Maintaining your Ninja Blender is not just about keeping it operational; it’s about ensuring that each blend is as fresh and hygienic as the first. Let’s explore the ideal Regular Cleaning Frequency to keep your blender in top-notch condition.
Frequency Of Cleaning The Blender Components
Establishing a routine cleaning schedule for your Ninja Blender is essential for longevity and performance. Blender components like the jar, lid, and blades should be cleaned after every use. This ensures that no residual food particles or odors linger, potentially affecting the taste of your next culinary creation.
- Blender Jar: Rinse with warm, soapy water, scrub gently, and air dry or towel dry before storing.
- Lid and Gasket: Hand wash with mild detergent to remove any food build-up and ensure a proper seal for future use.
- Blades: Handle with care and clean thoroughly to avoid dulling, ensuring effective blending every time.
Importance Of Regular Maintenance
The regular maintenance of your Ninja Blender cannot be overstated. It’s not just about hygiene; it’s also about performance. A well-maintained blender will have a longer lifespan and provide consistent results. Additionally, by ensuring that seals and gaskets are clean, you prevent leaks and motor overexertion, saving you from unexpected repairs or replacements.
- Prevents Contamination: Regular cleaning stops bacterial growth and cross-contamination of flavors.
- Protects Motor Health: By keeping the blending jar and components clean, you reduce strain on the motor.
- Safe Operation: Clean blenders are less likely to malfunction or cause accidents due to sticky or slippery surfaces.
- Cost Efficiency: Regular maintenance keeps your Ninja Blender working efficiently, avoiding costly repairs.
Troubleshooting Common Cleaning Issues
Cleaning a Ninja Blender should be a straightforward task, yet at times, despite your best efforts, you might encounter persistent stains or lingering odors that refuse to leave your beloved appliance. Don’t worry, this section is dedicated to helping you overcome these cleaning hurdles to restore your blender’s shine and aroma. Discover practical solutions to the most common cleaning issues below.
Tips For Stubborn Stains
Stubborn stains can be a nuisance, especially when they cling to the clear plastic of your Ninja Blender. A mixture of everyday kitchen items can tackle these resistant marks.
- Baking Soda Paste: Mix baking soda with water to create a paste. Apply the paste on the stains, let it sit for a few minutes, and then scrub gently with a non-abrasive sponge.
- Vinegar Soak: Fill the blender with a solution of equal parts white vinegar and warm water. Let it soak for an hour before rinsing thoroughly.
- Lemon Juice: Citric acid in lemon can break down stains. Blend a lemon with some warm water in your Ninja Blender for a natural cleaning agent.
- Denture Tablets: These are excellent for cleaning stained blender jars. Fill your blender with warm water, add a couple of tablets, and let it fizz away the stains.
Addressing Lingering Odors
Lingering odors can turn a fresh smoothie into an unpleasant experience. These tips ensure your blender smells as fresh as it should:
- Deep Clean Cycle: Run your Ninja Blender with hot water and a few drops of dish soap. After blending, let the machine rest for a few minutes, then rinse well.
- Coffee Grounds: Coffee has natural odor-absorbing properties. Blend a handful of coffee grounds in the blender to neutralize smells.
- Bleach Rinse: In extreme cases, a mild bleach solution (1 part bleach to 10 parts water) can disinfect and deodorize. Ensure you rinse the blender thoroughly afterward.
- Charcoal: When not in use, placing a piece of charcoal or a charcoal sachet in the blender can help absorb odors over time.
Remember to always dismantle the blender parts as per the manufacturer’s instructions before performing any deep cleaning to ensure you address all components that may harbor stains or smells. With a bit of persistence and the right cleaning agents, even the most persistent cleaning issues have solutions.
Storage Tips For Maintaining Cleanliness
Cleaning your Ninja Blender is only half the battle; proper storage is just as pivotal to maintain its pristine condition over time. In this section, we’ll outline a series of smart storage solutions designed to keep your blender spotless and ready for your next smoothie adventure. Implementing these tips can significantly reduce the cleaning required and extend the life of your Ninja Blender.
Proper Storage Practices
The way you store your Ninja blender can have a major impact on its cleanliness. To begin, always ensure your blender is completely dry before storing to prevent mold and odor buildup. It’s best to disassemble the parts and store them upright to allow proper air circulation. Keep the pitcher inverted on the base, as this helps ward off any residual water from pooling at the bottom.
Additionally, consider using a breathable cover or storing your blender in a cabinet to shield it from kitchen grease and splatters. A clean, dry location will serve as the perfect environment for your Ninja Blender, ready for its next use.
Preventing Dust And Debris Accumulation
Kitchens are a hotbed for dust and debris, and without proper precautions, your blender can become a collector. A straightforward way to prevent this is to use an easily washable blender cover when your appliance is not in use. If a cover is not available, a dry dish towel can suffice as a temporary barrier.
Consistency is key; make a routine of wiping down your storage space regularly. This helps in keeping the space free of the particles that can accumulate on your blender. For those with minimal storage, consider the inside of your cabinets. Make space for your Ninja Blender to rest safely away from the kitchen chaos, ensuring a dust-free sanctuary.
Can a Ninja Blender Smelling Like Burning Damage Its Cleaning Process?
If you notice your Ninja blender smelling like burning, it may indicate a problem with the motor. Before attempting to clean it, troubleshoot the issue using the suggested Ninja blender burning smell fix. It’s important to address any potential damage before proceeding with the cleaning process.
Frequently Asked Questions Of How To Clean A Ninja Blender
Can You Put A Ninja Blender In The Dishwasher?
Most Ninja Blender parts are dishwasher safe except for the motor base. Ensure parts are placed on the top rack to prevent damage during the washing cycle. Always consult the manual for specific dishwasher instructions for your model.
What’s The Best Way To Clean Ninja Blender Blades?
Carefully remove the blades and rinse them under warm water. Use a soft-bristle brush and dish soap to gently scrub away residue. Allow to air dry or towel dry immediately to prevent rusting. Avoid touching the sharp edges directly.
Is It Safe To Blend Cleaning Solutions In Ninja Blenders?
While mild solutions such as water and vinegar are safe, avoid harsh chemicals that could damage the blender. Blend a solution of warm water and a drop of dish soap for a quick self-clean cycle. Rinse thoroughly afterward.
How Often Should You Clean Your Ninja Blender?
It is best to clean the blender after each use to prevent food build-up and bacteria growth. A deep clean, including taking apart the lid and gasket, should be done monthly or as needed based on usage.
Conclusion
Keeping your Ninja blender spotless is essential for its longevity and performance. With these straightforward steps, maintaining a clean and efficient blender becomes a breeze. Remember, prompt cleaning after each use can save you time and safeguard your health. Embrace the simplicity of these tips and enjoy your Ninja blender’s sparkling results for years to come.