Ninja Blender Pitcher Cracked: Quick Fixes & Tips
A cracked Ninja Blender pitcher requires immediate attention to prevent leaks and ensure safe operation. Replacement pitchers are available from the manufacturer or authorized retailers.
Experiencing a crack in your Ninja Blender pitcher can be both frustrating and hazardous. The defect compromises the integrity of the container, potentially leading to spills, messes, and even injury if not addressed promptly. It’s essential for users to stop using a damaged pitcher and seek a suitable replacement.
Ninja Blenders are known for their durability and performance, making them a staple in many kitchens. This makes the issue of a cracked pitcher both surprising and inconvenient. Secure a new pitcher to maintain the appliance’s effectiveness and safety standards. Remember to verify the model number to ensure compatibility with your blender for a smooth replacement process.

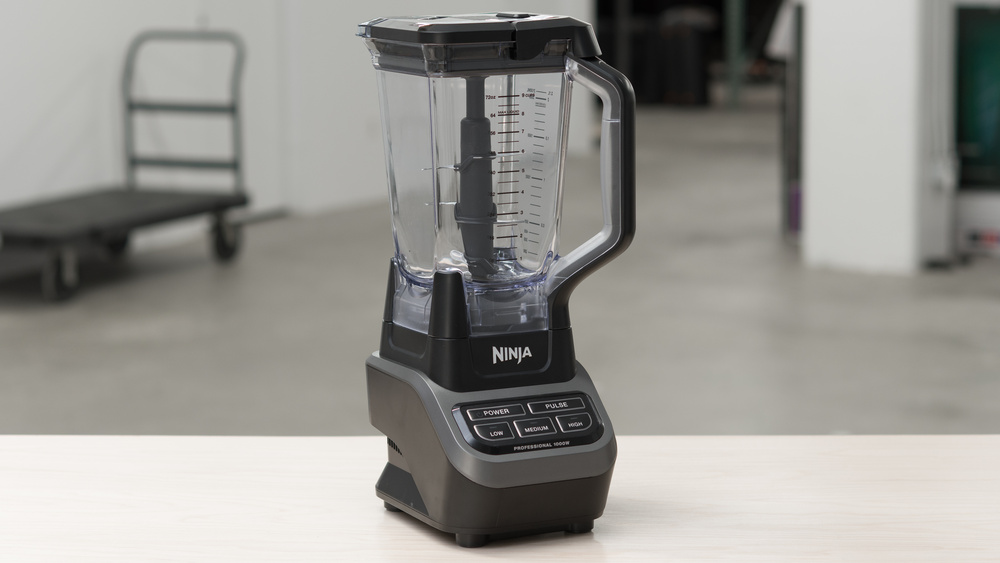
Credit: www.amazon.com
Understanding The Issue
A Ninja Blender is an essential kitchen gadget for many, renowned for its power and durability. However, even the most reliable equipment can encounter issues, and a cracked pitcher is a common problem for users of Ninja Blenders. This fault disrupts the device’s integrity, leading to potential leaks, decreased performance, or even the inability to use the blender. Recognizing the symptoms early and understanding the causes behind it can save you from the inconvenience and ensure the longevity of your blender.
Symptoms Of A Cracked Ninja Blender Pitcher
Spotting a crack in your Ninja Blender pitcher can prevent unwanted messes and safety hazards. Here are symptoms to look out for:
- Visible Cracks: Inspect your pitcher for any hairline cracks or major splits, which are clear indicators of damage.
- Leaking: If you notice liquid escaping from the pitcher during use, this might be due to a crack, even if it’s not visible.
- Strange Noises: A change in the sound your blender makes could suggest that liquids are seeping into areas they should not be due to a fissure.
- Performance Issues: Inconsistent blending or changes in texture might be symptoms of a compromised pitcher structure.
Upon recognizing any of these symptoms, stop using your Ninja Blender to avoid any further damage or potential safety risks. It’s important to address the issue promptly to continue enjoying the full array of functions your blender provides.
Causes Of Cracks
Experiencing a cracked ninja blender pitcher can be a frustrating ordeal. This common issue disrupts your daily blending routine and raises questions about the durability of your appliance. Understanding the causes behind these cracks is crucial to preventing future damage and maintaining the longevity of your blender. Let’s examine the common culprits that lead to this inconvenience.
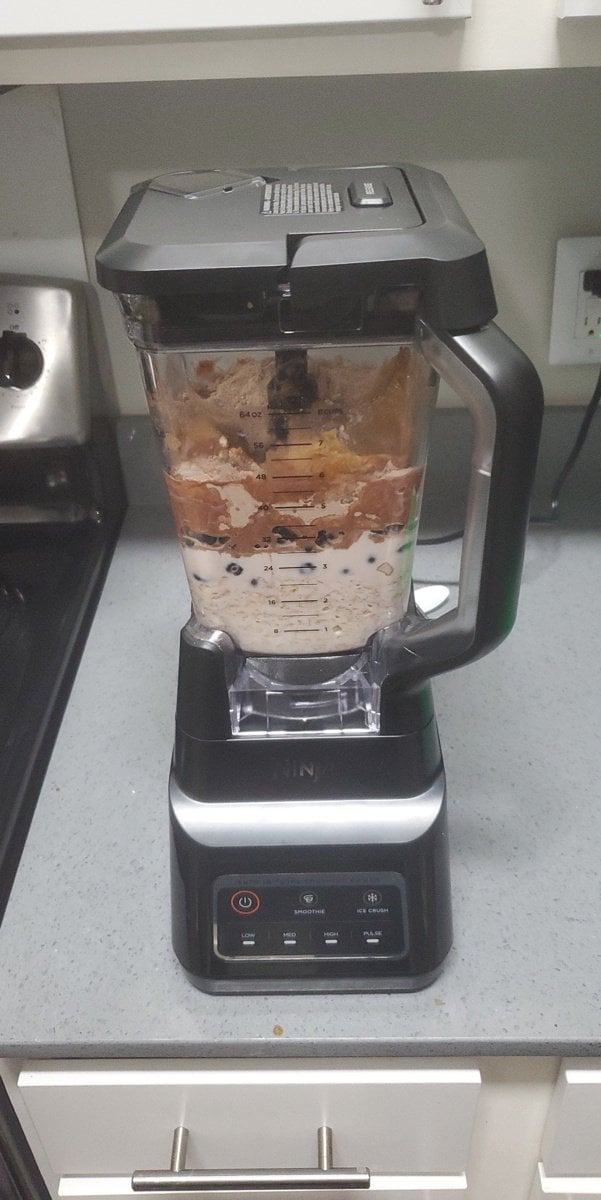
Overfilling The Blender Pitcher
One of the primary reasons for a cracked pitcher is overfilling. Despite the robust design of Ninja blenders, they have specific capacity limitations. Here’s what happens when you overfill your blender pitcher:
- Pressure Build-up: Exceeding the maximum fill line can create excessive pressure inside the pitcher during blending.
- Stress on Material: The additional volume places undue stress on the pitcher, especially when blending dense or hard ingredients.
- Compromised Structure: Over time, this stress can result in microfractures that eventually lead to larger, visible cracks.
To avoid this, always adhere to the recommended fill guidelines indicated on your pitcher.
Extreme Temperature Changes
Another significant contributor to pitcher cracking is exposure to rapid temperature changes. The materials used in Ninja blender pitchers, while durable, can react unfavorably to thermal shock. Consider the following scenarios:
- Hot Ingredients: Adding hot liquids straight from the stove can cause the material to expand quickly, leading to cracks.
- Cold Shock: Conversely, placing a hot pitcher into cold water or adding frozen ingredients to a room-temperature pitcher can result in contraction and potential fractures.
Always allow foods to reach a safe temperature before blending and avoid subjecting the pitcher to direct heat sources or freezing environments.
Quick Fixes
Discovering a crack in your Ninja blender pitcher can throw a wrench in your meal prepping plans. But there’s no need to let a little crack put a damper on your blending bliss. With a few quick fixes, you can repair or replace your cracked pitcher and get back to whipping up your favorite smoothies and soups in no time. Below, you’ll find some practical solutions to mend your beloved kitchen companion.
Repairs Using Adhesive Or Epoxy
Before you decide to toss out that cracked pitcher, consider the possibility of a simple fix. Using a strong adhesive or epoxy specifically designed for plastic can seal that crack and salvage your pitcher. Here’s the step-by-step guide:
- Clean the area around the crack properly, ensuring it’s free from any food residue or liquids.
- Choose a strong adhesive or epoxy that is safe for use with food containers.
- Apply the adhesive carefully, following the manufacturer’s instructions for mixing, application, and curing time.
- Allow it to cure fully, which may take anywhere from a few hours to overnight, depending on the product.
It’s important to note that while this solution can extend the life of your pitcher, it’s not always a permanent fix, and safety should always be a priority when dealing with materials that contact food.
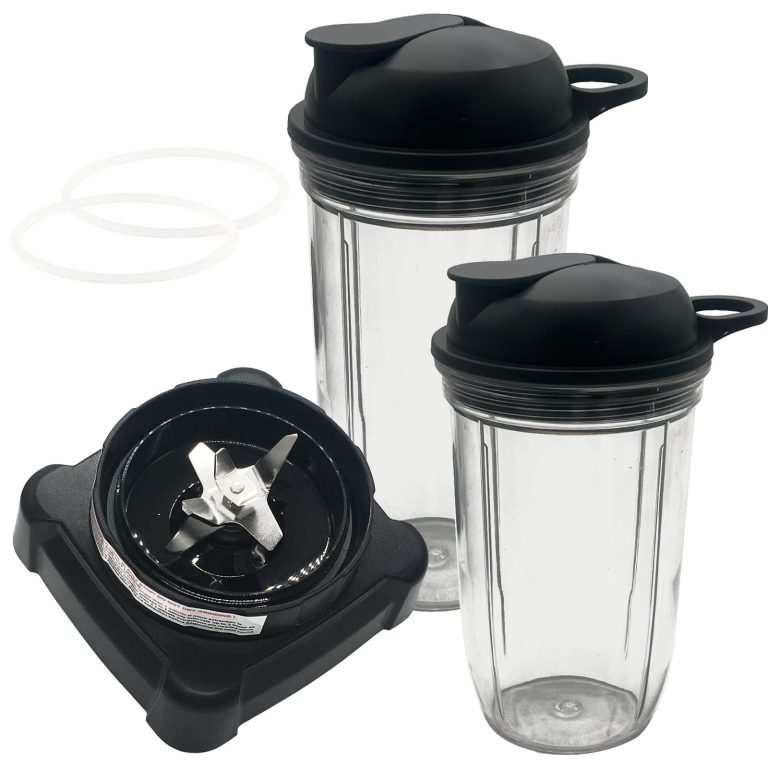
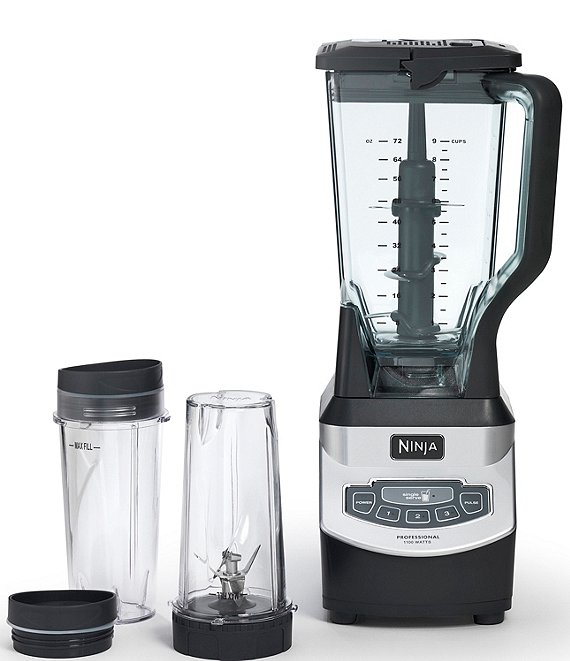
Replacement Options For Cracked Pitcher
If you’ve attempted repairs and the crack persists, it may be time to consider a replacement pitcher. Ninja blenders are popular for their durability and performance, so investing in a new pitcher is often worth the cost. Here are your best options:
- Official Ninja Replacement: The safest bet is to opt for an official replacement from Ninja. This ensures that your new pitcher will fit and perform optimally with your existing blender.
- Compatible Pitchers: You can also explore third-party options that are compatible with your Ninja blender model. Just ensure they are made from quality materials and have positive reviews.
When selecting a new pitcher, check for warranty information and ensure it’s a perfect match for your specific Ninja blender model to avoid any compatibility issues.
Diy Repair Steps
Welcome to our latest DIY guide where we tackle the common issue of a cracked Ninja Blender pitcher. Blending mishaps happen, but that doesn’t mean you need to toss out your faithful kitchen companion just yet. With a few simple tools and some patience, you can repair your blender pitcher and have it functioning like new. Dive into the details below to discover an easy-to-follow, step-by-step process that will save you time and money.
Step 1: Cleaning And Drying The Pitcher
Before attempting any repair, it’s crucial that the blender pitcher is thoroughly cleaned and dried. Residual moisture or debris can interfere with the adhesive and compromise the repair. Follow these steps:
- Disassemble the pitcher from the blender base and remove any remaining contents.
- Wash the pitcher with warm soapy water, ensuring to clean around the cracked area.
- Let the pitcher air dry completely or use a clean towel to pat dry.
Step 2: Applying The Adhesive/epoxy
When the pitcher is clean and dry, prepare a suitable adhesive. Food-safe epoxy is best for this type of repair. Proceed with caution:
- Put on gloves to protect your skin from the epoxy.
- Ready the epoxy according to the manufacturer’s instructions.
- Apply the epoxy carefully to the crack, both inside and outside of the pitcher.
- Use a small tool, like a toothpick, to ensure the epoxy gets fully into the crack.
- Remove any excess adhesive before it starts to set.
Step 3: Curing Time And Testing
After applying the epoxy, the crack must have sufficient time to cure. This is crucial for a robust repair. Guidelines for successful curing include:
| Step | Action | Duration |
|---|---|---|
| 1 | Leave the pitcher at room temperature. | 24 hours |
| 2 | Avoid moving or disturbing the pitcher during curing. | – |
| 3 | After curing, fill the pitcher with water to test for leaks. | – |
Once the pitcher has cured and you’ve confirmed there are no leaks, your Ninja Blender pitcher should be ready to use. Be sure to handle with care and enjoy your blends once more.
Maintenance Tips
Keeping your Ninja Blender Pitcher at peak performance requires a bit of care and attention. Preventing cracks and prolonging the life of your blender pitcher begins with regular maintenance. Simple yet effective practices can make all the difference. We’ll guide you through the most important maintenance tips to ensure your blending experience remains smooth and safe. Follow these pointers, and your Ninja Blender Pitcher will continue to be a reliable partner in your culinary adventures.
Proper Cleaning Techniques
Cleaning your Ninja Blender Pitcher after every use is crucial to prevent food residue and bacteria buildup. However, there’s a right way to clean it to avoid damage:
- Dismantle the pitcher from the base and remove the blades carefully before you begin.
- Use warm soapy water and a soft sponge to clean the interior. Avoid harsh scrubbers that can leave scratches in which bacteria can thrive.
- For stubborn residue, fill the pitcher halfway with warm water and a drop of dish soap, then run the blender for a few seconds.
- Always rinse thoroughly to ensure no soap remains.
- Let the pitcher air dry or use a soft cloth to prevent water spots and potential mildew.
Avoiding Overfilling And Thermal Shock
Avoiding pitcher cracks often comes down to two critical factors: overfilling and thermal shock. Below is a checklist to ensure you’re taking the necessary precautions:
| Prevention Method | Description |
|---|---|
| Monitor Fill Line | Keep liquids below the max fill line to prevent pressure buildup that can lead to cracking. |
| Gradual Temperature Change | Avoid adding hot liquids immediately after blending cold items, and vice versa, to prevent thermal shock. |
Additionally, never place the pitcher in the dishwasher immediately after blending hot ingredients. Allow it to cool to room temperature first.
Using The Blender Safely
Ensuring safety while using your Ninja blender not only protects you from harm but also extends the life of the appliance. A Ninja Blender’s pitcher is central to its function, made to withstand the stresses of blending, chopping, and puréeing a variety of ingredients. Despite being designed for durability, unforeseen circumstances, like a crack, might arise with extensive use or misuse. To keep your Ninja blender operating smoothly and to avoid cracks or breaks in your pitcher, learn to use it properly and take care of it with the following guidance.
Tips for Prolonging Pitcher LifespanTips For Prolonging Pitcher Lifespan
Maximizing the life of your blender’s pitcher is essential for both safety and efficiency. Consider these easy yet effective steps:
- Temperature Care: Never subject the pitcher to extreme temperature changes. Moving from very hot to very cold environments can cause material stress.
- Gentle Washing: Use non-abrasive materials when cleaning to prevent scratches or cracks.
- Correct Assembly: Ensure the blade is correctly assembled every time to prevent damages during operation.
- Gradual Blending: Start on lower speeds and gradually increase to higher ones. It reduces stress on the pitcher.
- Regular Checks: Inspect your pitcher for any signs of wear or weakness regularly.
Avoiding Common Pitfalls
Avoid these pitfalls to ensure you don’t unintentionally contribute to a cracked pitcher:
| Mistake | Consequence | Prevention |
|---|---|---|
| Overfilling: | Can lead to leaks or pressure build-up, causing cracks. | Heed maximum fill lines. |
| Blending Hard Objects: | Stresses the pitcher and can lead to cracks. | Avoid blending bones or frozen items without liquid. |
| Improper Storage: | Storing with the blade can cause damage over time. | Store the pitcher and blades separately. |
| Using Damaged Blades: | Increases the likelihood of pitcher damage. | Replace the blades at the first sign of dullness or damage. |
By implementing these practices, you not only maintain the integrity of your Ninja Blender pitcher but also ensure a safer blending experience overall. Your blender is an investment in your kitchen’s functionality – treat it wisely!
Professional Services
Discovering a crack in your Ninja Blender pitcher can be frustrating, especially if it interrupts your routine of making smoothies or sauces. Instead of attempting a DIY fix that may not last, consider seeking professional services designed to handle such issues with precision and care. Trusted professional services ensure that your Ninja Blender is restored to its optimal performance, with a focus on durability and safety.
Ninja Customer Support Assistance
Encountering a crack in your Ninja Blender pitcher is certainly cause for concern, but Ninja’s dedicated customer support stands ready to assist. A service request can be initiated quickly and conveniently through various channels:
- Telephone Support: By calling their hotline, you can speak directly with a Ninja representative.
- Email Inquiry: Send a detailed message through their official contact form.
- Live Chat: Real-time assistance is available through the Ninja website for immediate guidance.
Ninja’s team offers troubleshooting steps, warranty coverage information, and replacement options. Should a pitcher replacement be needed, they guide you through the process to ensure your experience is seamless and satisfactory.
Local Repair Services Recommendations
If you prefer a hands-on approach, local repair services can be a viable option. Identify highly-rated local appliance repair experts who specialize in blenders and small kitchen appliances:
- Research online for repair services with robust customer reviews.
- Verify certifications and specializations that align with Ninja Blender repairs.
- Contact recommended services to inquire about repair feasibility and pricing.
When selecting a local service, look for ones that provide transparent pricing, warranties on repairs, and assure the use of genuine Ninja parts. This safeguards the integrity of your appliance as well as your own peace of mind.
Extended Warranty Options
Extended Warranty Options for your Ninja Blender are indispensable when you encounter issues like a cracked pitcher. Not only does it provide peace of mind, but it also helps prevent the unexpected costs associated with replacing or repairing damaged parts. Let’s delve into the advantages of opting for an extended warranty and consider the availability and cost implications.
Benefits Of Ninja Blender Extended Warranty
Purchasing an extended warranty for your Ninja Blender can offer a host of benefits:
- Comprehensive Coverage: Protects against not only cracks in the pitcher but also other potential defects or wear and tear that can occur over time.
- Cost Savings: A one-time fee negates the need for expensive out-of-pocket costs for repairs or replacements.
- Convenience: Quick and hassle-free claim processes mean less downtime without your blender.
- Service Guarantee: Repairs are often carried out by certified professionals using original Ninja parts, ensuring your blender operates like new.
- Transferability: Some warranties may be transferable, increasing the resale value of your blender.
Availability And Cost Considerations
When contemplating an extended warranty, it’s crucial to weigh the availability of the coverage and any related expenses:
| Warranty Type | Duration | Cost | Coverage Scope |
|---|---|---|---|
| Standard Extended Warranty | 1-3 years | $ | Basic protection against defects |
| Premium Extended Warranty | 2-5 years | $$ | Inclusive of accidental damage |
Cost varies by retailer and warranty terms. Some manufacturers offer direct extended warranty programs that might provide better value or additional services compared to third-party retailers. Always read the fine print to understand what is and isn’t covered, and consider factors such as:
- The frequency of use and likelihood of damage.
- Comparison between warranty cost and the price of the blender.
- Reputation and reviews of the warranty provider.
Arming yourself with an extended warranty for your Ninja Blender ensures that a cracked pitcher or any other issue won’t disrupt your blending routine for long. A small upfront investment can save significant time, money, and effort in the long run.
Can I Use the Dishwasher to Fix a Cracked Ninja Blender Pitcher?
Yes, you can safely use the dishwasher to clean your Ninja Blender pitcher. However, it is not recommended to fix a cracked pitcher in the dishwasher. It is important to prioritize ninja blender dishwasher safety and follow the manufacturer’s guidelines for proper care and maintenance of your blender pitcher.
Frequently Asked Questions For Ninja Blender Pitcher Cracked
Why Do Ninja Blender Pitchers Crack?
Ninja Blender pitchers might crack due to extreme temperature changes, overfilling, or improper handling. Using the blender for non-recommended ingredients or dropping it can also cause cracking. It’s important to follow the manufacturer’s guidelines to avoid damage.
Can You Fix A Cracked Ninja Blender Pitcher?
Fixing a cracked Ninja Blender pitcher is not advisable as it may lead to leaks or further breakage. For safety and performance, it is best to replace the pitcher. Manufacturers often provide replacement parts that are easily available online.
How To Prevent Ninja Blender Pitcher Cracks?
To prevent cracks in your Ninja Blender pitcher, avoid sudden temperature changes, do not overfill it, and handle it with care. Always use the blender as per the instructions and make sure to not blend overly hard or frozen ingredients without pulsing.
Where To Buy Replacement Ninja Blender Pitchers?
Replacement Ninja Blender pitchers can be purchased directly from the manufacturer’s website, authorized retailers, or through online marketplaces such as Amazon. Ensure you select the correct model that fits your blender for compatibility.
Can the Same Fixes for a Cracked Ninja Blender Pitcher Apply to a Leaking Vitamix Container?
Yes, the same fixes for a cracked Ninja Blender pitcher can apply to a leaking Vitamix container. Some common solutions for fixing leaking Vitamix container include checking the gasket, tightening the blade assembly, and ensuring a proper seal between the container and the base.
Conclusion
Concluding, a cracked Ninja Blender pitcher can be a setback. Remember, timely repairs or replacements can save the day. Choose genuine parts for longevity. Your blender’s best days are ahead with the right care. Blend on and explore new recipe horizons worry-free!